
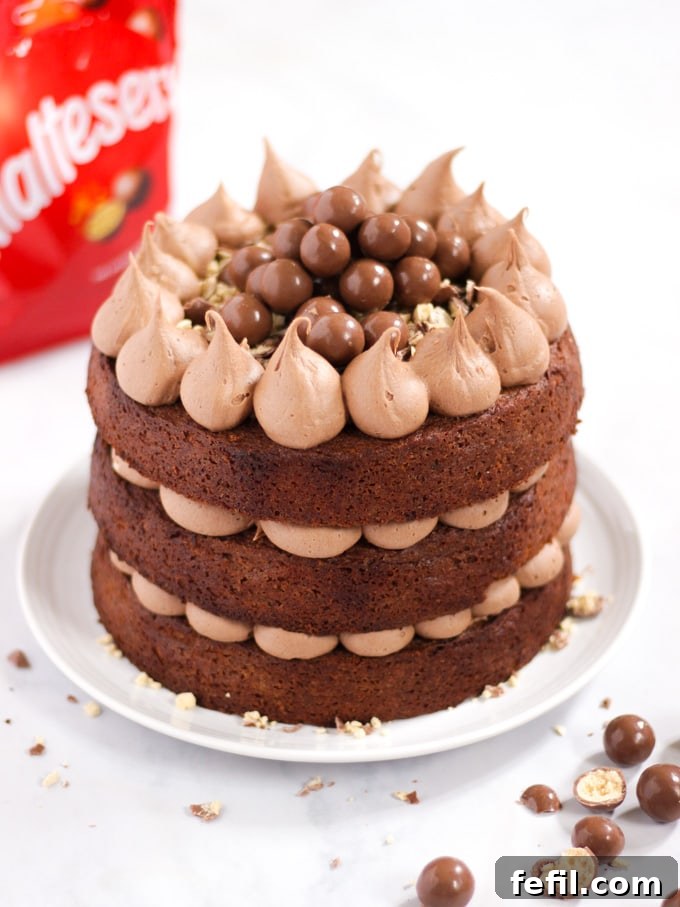
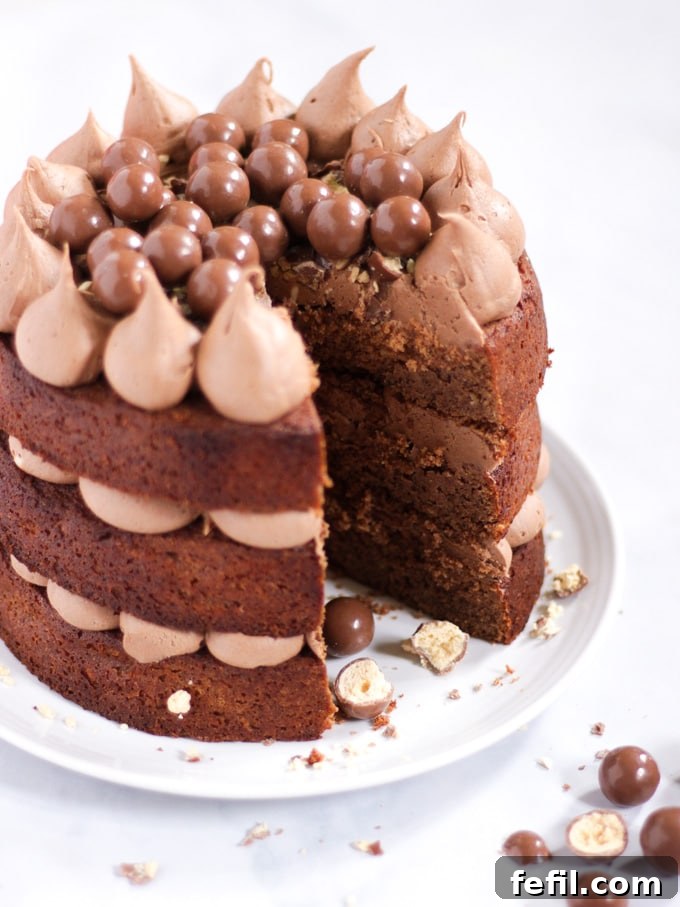
Discover the ultimate Malteser Cake recipe, a delightfully decadent creation brimming with the unmistakable chocolate malt flavors of your favorite classic treat. Surprisingly easy to master, this show-stopping cake is perfect for birthdays, special celebrations, or simply to indulge in as a truly unforgettable dessert!
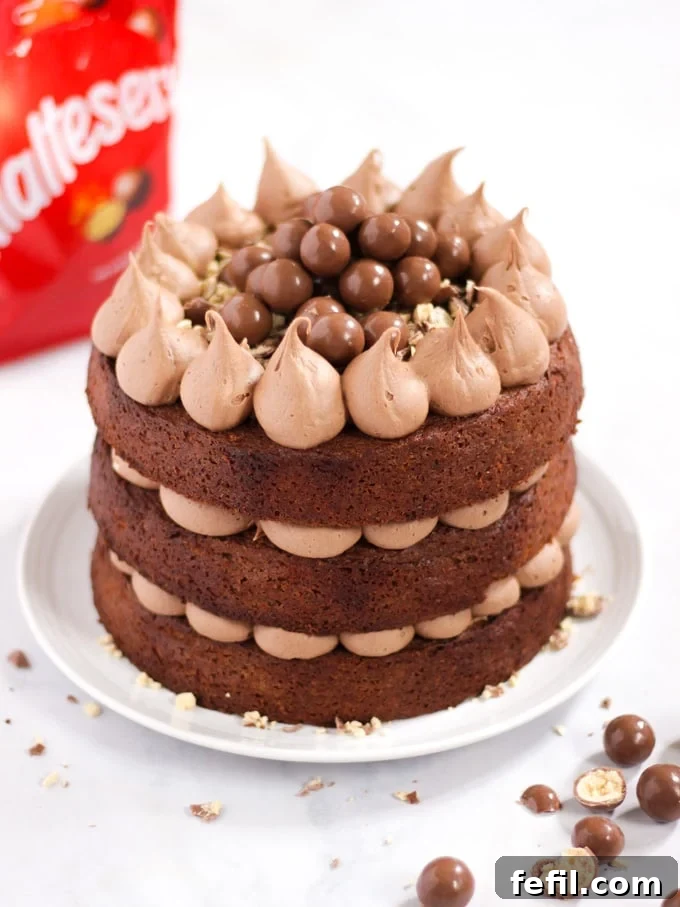
Prepare to meet your new obsession! This Malteser Cake is more than just a dessert; it’s a dream come true for anyone who adores the crunchy, malty spheres we all know and love. Forget complicated baking – this recipe delivers a light, incredibly fluffy cake infused with that signature malty goodness, reminiscent of countless Malted Milk biscuits enjoyed over the years. Trust us, it’s an absolute winner that will quickly become a cherished favorite in your recipe collection.
Just last week, this glorious creation sat winking at me from the cake tin, beckoning for ‘quality control’ taste tests. And who am I to refuse such a delightful duty? It would simply be rude not to sample it five, six, or perhaps even ten times, right? Each bite was a testament to its irresistible charm, confirming its status as a cake you simply must try.
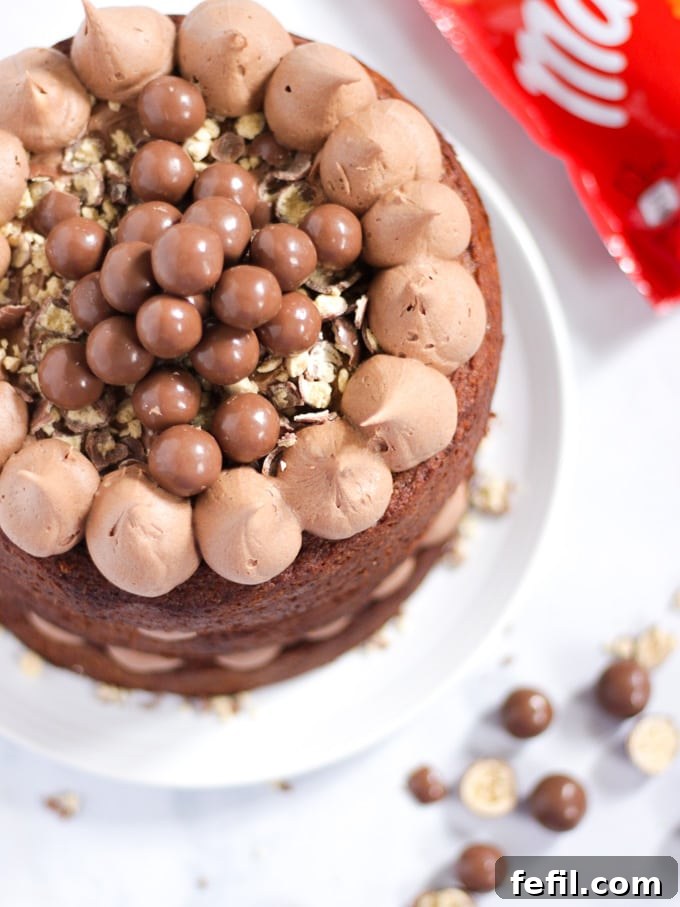
Over the years, many have turned to iconic bakers for inspiration, from the Nigella Malteser Cake recipe to the Mary Berry Malteser Cake recipe. This particular recipe of mine is a unique hybrid, taking the best elements from both and enhancing them with my own adjustments. I’ve made it grander, more suitable for sharing (or not!), and streamlined the process to make it even more accessible for home bakers. The result is a cake that stands proudly on its own, offering both simplicity and spectacular flavor.
Why This Malteser Cake Recipe Will Be Your New Favorite
You absolutely NEEEEED this magnificent Malteser chocolate cake in your life, and here’s why:
- Instant Mood Booster: Honestly, whose day wouldn’t be brightened by a generous slice of this heavenly confection? Its rich chocolate and malt flavor profile brings pure joy with every forkful. This easy Malteser cake is sure to put a smile on anyone’s face, making it ideal for any occasion.
- Simple & Accessible Ingredients: Don’t let its impressive appearance fool you. This homemade Malteser cake is surprisingly straightforward to make, utilizing basic ingredients commonly found in your pantry. No fancy specialty stores required, just everyday staples transformed into something extraordinary.
- Unrivalled Moistness: Forgive the word, but it’s true – this cake is incredibly moist! This desirable quality means it stays wonderfully fresh, keeping beautifully in an airtight tin for up to four days. If it even manages to last that long, that is!
- Perfect for Any Occasion: Whether it’s a birthday, an anniversary, a holiday gathering, or just a spontaneous craving for something sweet, this Malteser celebration cake fits the bill perfectly. It’s robust enough for a party but comforting enough for a quiet afternoon treat.
- A Crowd-Pleaser: The classic combination of chocolate and malt is universally loved. This Malty Chocolate Cake appeals to all ages, making it a guaranteed hit at any gathering. Prepare for rave reviews and requests for the recipe!
Crafting Your Delicious Malteser Cake: A Step-by-Step Guide
Creating this spectacular Malteser layer cake is an enjoyable process. Follow these detailed steps to ensure a perfect bake every time.
Preparing the Cake Batter: The Foundation of Flavor
- Creaming Butter and Sugars: Begin by ensuring your unsalted butter is at room temperature – this is crucial for a smooth, airy batter. In a large mixing bowl, cream together the butter, soft brown sugar, and caster sugar until the mixture is light, pale, and wonderfully fluffy. This step incorporates air, contributing to the cake’s light texture.
- Creating the Malt-Chocolate Paste: In a separate bowl, combine your cocoa powder and malted drink powder (Ovaltine or Horlicks work perfectly). Gradually add just enough boiling water, whisking constantly, until you form a thick, smooth paste. This pre-mix ensures no lumps and intensifies the chocolate and malt flavors throughout the cake.
- Combining Wet and Dry Ingredients: To the creamed butter and sugars, add your eggs one at a time, beating well after each addition. Then, alternately fold in the self-raising flour and the rich cocoa-malt paste. Mix gently until everything is just combined and the batter is thick and smooth, being careful not to overmix, which can lead to a tough cake.
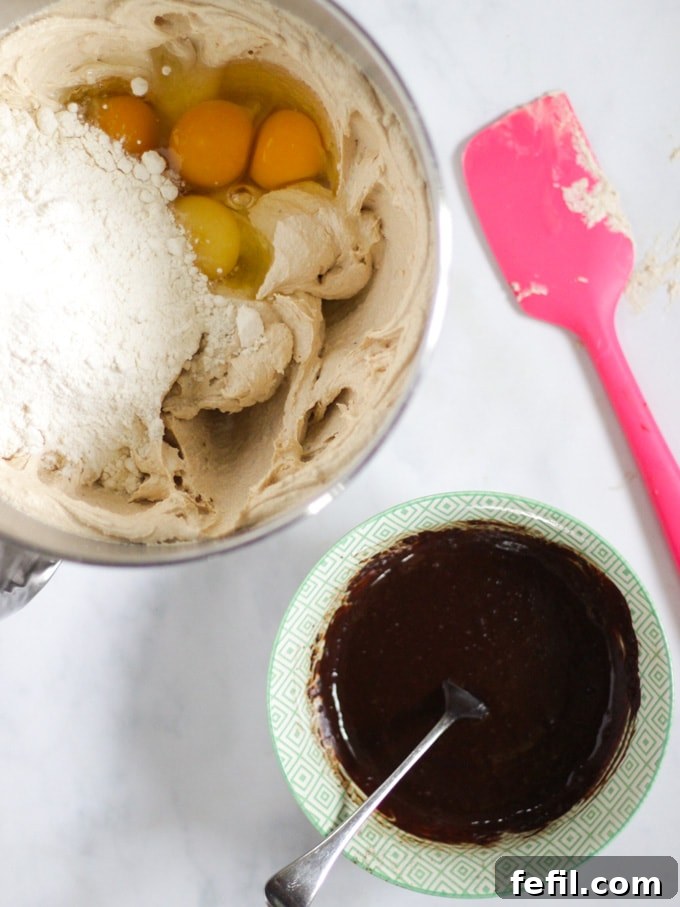
Baking Your Malteser Cake Layers: Achieving Perfection
- Preparing Your Tins: Divide the luscious batter evenly among three 7-inch baking tins. For optimal results and ease of removal, make sure your tins are thoroughly buttered and lined with baking paper, especially along the sides. This extra step helps prevent the delicate cakes from sticking and creates beautifully neat edges, perfect for a “naked” cake finish.
- Baking to Golden Perfection: Place the tins in your preheated oven (180°C/350°F, or Gas Mark 4) and bake for approximately 25-30 minutes. The cakes are perfectly cooked when a skewer inserted into the center comes out clean, and the edges begin to pull away from the sides of the tin.
- Cooling Process: Once baked, allow the cakes to cool in their tins for about 10 minutes. This resting period helps them firm up slightly, making them less prone to breaking. Carefully invert them onto a wire rack to cool completely before frosting. If any of your cake sponges have a slight dome, gently trim it off with a sharp bread knife once fully cooled. This crucial step ensures your cake layers stack perfectly level, creating a stable and impressive tower.
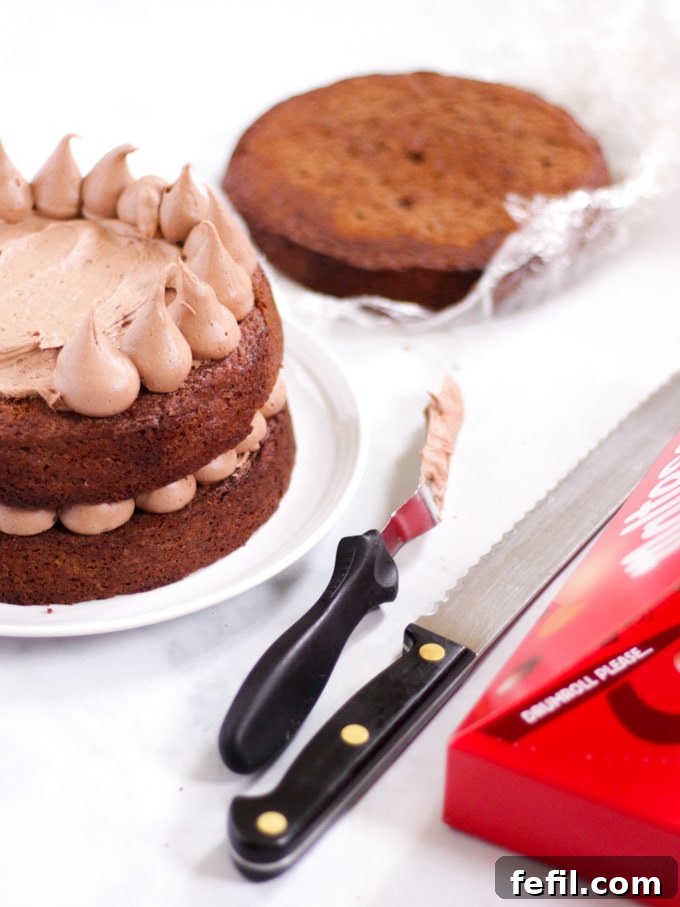
Creating the Irresistible Malted Chocolate Buttercream
- Making the Icing Paste: Just like with the cake batter, create a separate paste for the icing. Combine cocoa powder and malted drink powder with just enough boiling water to achieve a smooth, thick consistency, ensuring there are no lumps.
- Whipping the Buttercream: In a large bowl, cream together the room-temperature unsalted butter and icing sugar until light and fluffy. Gradually add the cocoa-malt paste to the butter and sugar mixture. Continue to beat the icing thoroughly until it becomes incredibly smooth, thick, and wonderfully light. This vigorous beating incorporates air, resulting in a dreamy, spreadable frosting.
- Adjusting Consistency: If your icing appears too soft, a quick chill in the fridge for about an hour, or adding a little more icing sugar, will firm it up. Conversely, if it’s too stiff, add a tiny splash more boiling water, one teaspoon at a time, until it reaches the desired smooth, pipeable consistency.
Assembling and Decorating Your Malteser Masterpiece
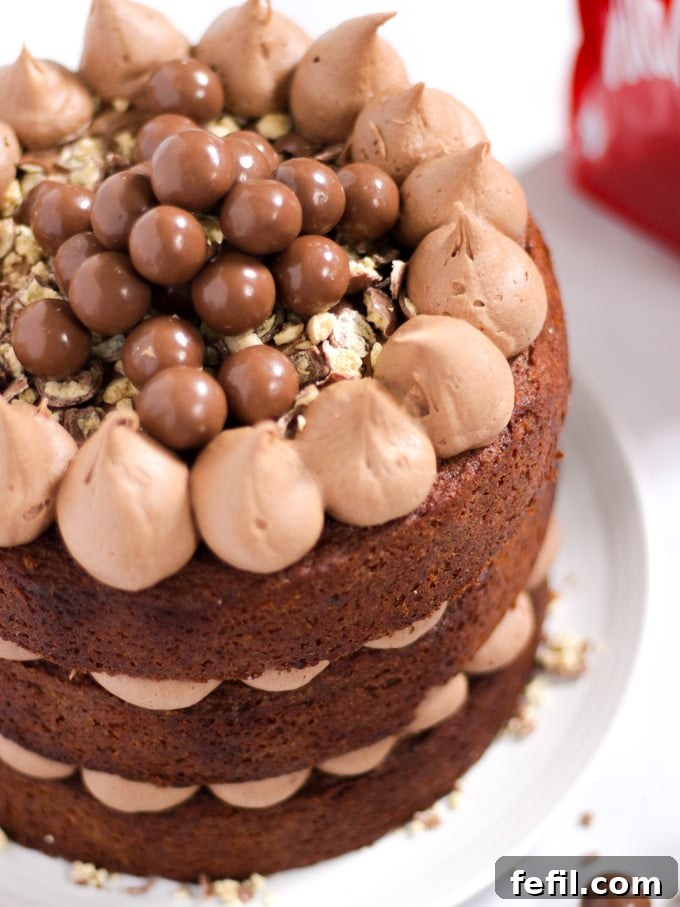
- Layering the Cake: Once your cake layers are completely cool and trimmed, it’s time to assemble. Place one cake layer on your serving plate or cake stand. Spread an even layer of your delectable malted chocolate buttercream across the top. Repeat with the second and third layers.
- Finishing Touches: For a professional touch, pipe decorative dollops of icing around the edge of each layer before adding the next, or simply spread a thin crumb coat over the entire cake for a rustic look. Finally, generously decorate the top of your cake with a delightful mix of crushed and whole Maltesers. The contrast in textures and the burst of malty flavor will elevate your creation.
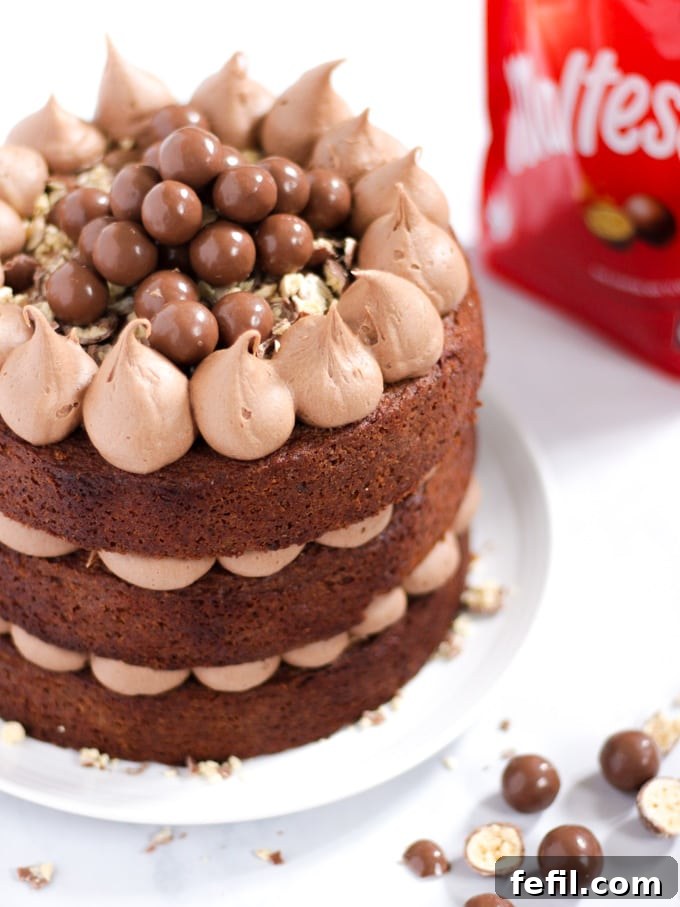
Essential Tools for Baking the Perfect Malteser Cake
Having the right equipment can make all the difference when baking. Here are a few recommendations to ensure your Malteser cake baking experience is smooth and successful:
- Quality Cake Tins: Investing in good quality 7-inch cake tins is highly recommended. I personally use these thick, robust 7-inch cake tins. The deep versions are particularly versatile, allowing them to be used for cheesecakes too, making them a fantastic long-term investment for any baker.
- Disposable Piping Bags: If you’re planning any cake decorating, disposable piping bags are an absolute must-have. They are incredibly easy to use, making frosting and decorating a breeze. While reusable bags are an option, the amount of detergent and effort required to clean them often makes disposable ones a more practical choice for many home bakers.
- Angled Palette Knife: An angled palette knife is an incredibly useful kitchen tool, especially for spreading icing smoothly and evenly. It’s one of those small investments that significantly improves the finish of your cakes and becomes a favorite in your baking arsenal.
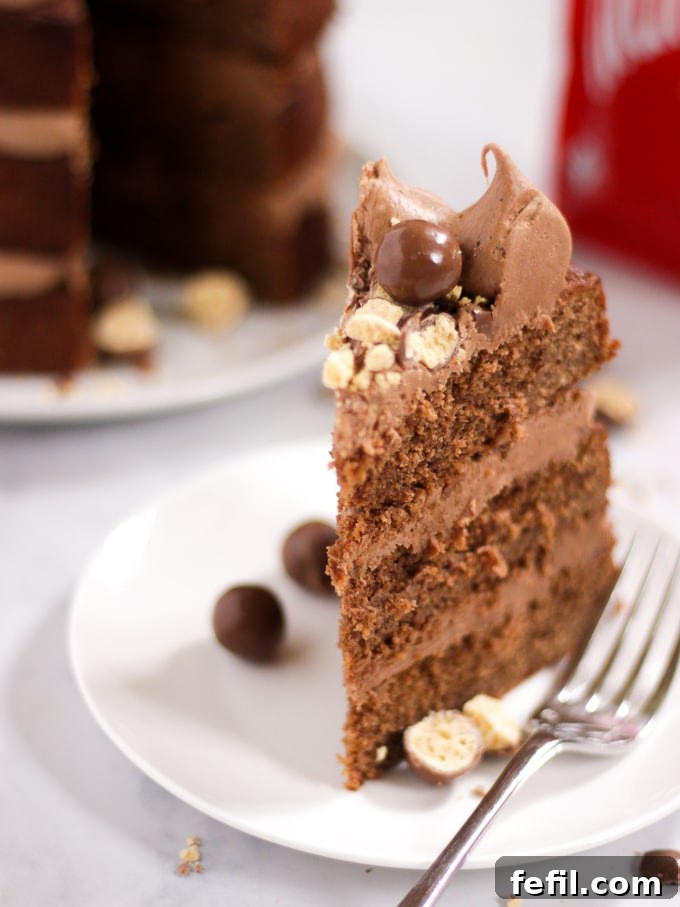
Craving More Delicious Cake Recipes?
If this best Malteser cake recipe has ignited your passion for baking, you’re in luck! Explore these other fantastic cake creations that are sure to delight your taste buds and impress your guests:
- Oreo Layer Cake
- Chocolate & Raspberry Layer Cake
- Nutella Cake
- Chocolate Orange Cake Recipe
- Orange Drizzle Cake
- Caramel Rocky Road Cake
- Pumpkin Spice Loaf Cake
I sincerely hope you enjoy baking and savoring this incredible Malteser Cake recipe as much as my family and I do. Your feedback is incredibly valuable, so please don’t hesitate to let me know how your baking adventure went and what you thought of the cake. If you loved it, please take a moment to rate the recipe and leave a comment below!
If you’re eager for more delicious recipes and meal planning inspiration, be sure to subscribe to my newsletter for weekly updates. You can also follow me on Facebook, Instagram, and Pinterest for daily dose of kitchen chat, new recipes, and life updates!
The Ultimate Malteser Cake Recipe Card
Rating: 4.70 from 40 votes
Malteser Cake
By Sarah Rossi
This delicious Malteser Cake recipe is full of the chocolate malt flavors of the classic treat. It’s surprisingly easy to make, perfect for birthdays, celebrations or… Dessert!
Prep Time: 20 minutes
Cook Time: 30 minutes
Total Time: 50 minutes
Servings: 12 People
Ingredients
- 150 g (0.75 cups) Soft brown sugar
- 150 g (0.75 cups) Caster sugar
- 300 g (10.5 oz) Unsalted butter, At room temperature
- 6 Medium eggs (Or 5 Large)
- 240 g (1.5 cups) Self raising flour
- 30 g (3 tbsp) Cocoa powder (I used Green & Blacks)
- 30 g (3 tbsp) Malted drink powder (I used Horlicks, Ovaltine would also be fine)
- 5 tbsp Boiling water
- Maltesers, For decorating
For the Icing
- 400 g (2.75 cups) Icing sugar
- 200 g (7 oz) Unsalted butter, At room temperature
- 25 g (2.5 tbsp) Cocoa powder (I used Green & Blacks)
- 75 g (0.5 cups) Malted drink powder (I used Horlicks, Ovaltine would also be fine)
- Boiling water (Enough to form a paste – see notes)
Instructions
- Preheat the oven to 180℃/350F, 200℃/400F or Gas mark 6.
- Beat the sugars with the butter until soft and fluffy.
- In another bowl, mix the cocoa and malted drink powder with ABOUT 5 tbsp of boiling water. Add it gradually, whisking and mixing until you have a smooth paste. You may need a little more or less depending on the brands you use. Be sure to mix out all lumps.
- Add the eggs, flour and cocoa mixture to the butter mixture. Beat until smooth and totally combined.
- Share the mixture out between three 7″ cake tins, well buttered and lined with baking paper. Smooth out the tops and bake in the oven for 25 – 30 minutes.
- Make your icing by combining the butter, icing sugar and a paste made with the cocoa, malted drink powder and JUST enough boiling water to make make the paste. (Be sure to mix out all lumps from the paste). Beat the icing really well, it will be very stiff and powdery at the start.
- When the cakes are cooked, remove from the oven and allow to cool in the tin for 10 minutes. Remove from the tins and trim the tops off if needed.
- Sandwich together with the icing and decorate with Maltesers.
Did you make this recipe? Click here to let us know how it went and give it a ⭐ rating! Your feedback helps us to make more recipes you really want.
Notes
- Make sure that you butter your tins REALLY well. I also line the sides of the tins with baking paper for this cake as the cakes are quite delicate. I also think (maybe?) it makes the edges a bit neater as they are being served naked. No desperate need though if you’re short on time.
- The cakes are cooked when: A skewer comes out of the centre of the cake clean and/or the are ‘pulling’ away from the sides of the tin.
- If the icing is too soft, pop in the fridge for an hour OR add a little more icing sugar. If too solid, add a tiny bit more boiling water.
- Store the cake in an airtight tin, for upto 4 days.
Nutrition
Calories: 638kcal
Carbohydrates: 75g
Protein: 6g
Fat: 36g
Saturated Fat: 22g
Cholesterol: 171mg
Sodium: 41mg
Potassium: 146mg
Fiber: 2g
Sugar: 57g
Vitamin A: 1160IU
Calcium: 42mg
Iron: 1.3mg
Nutrition information is automatically calculated, so should only be used as an approximation. Nutritional values are per portion unless otherwise stated.
Additional Info
Course: Dessert
Cuisine: Family Food
Like this? Leave a comment and rating below!
Mention @myusername or tag #myhashtag!