
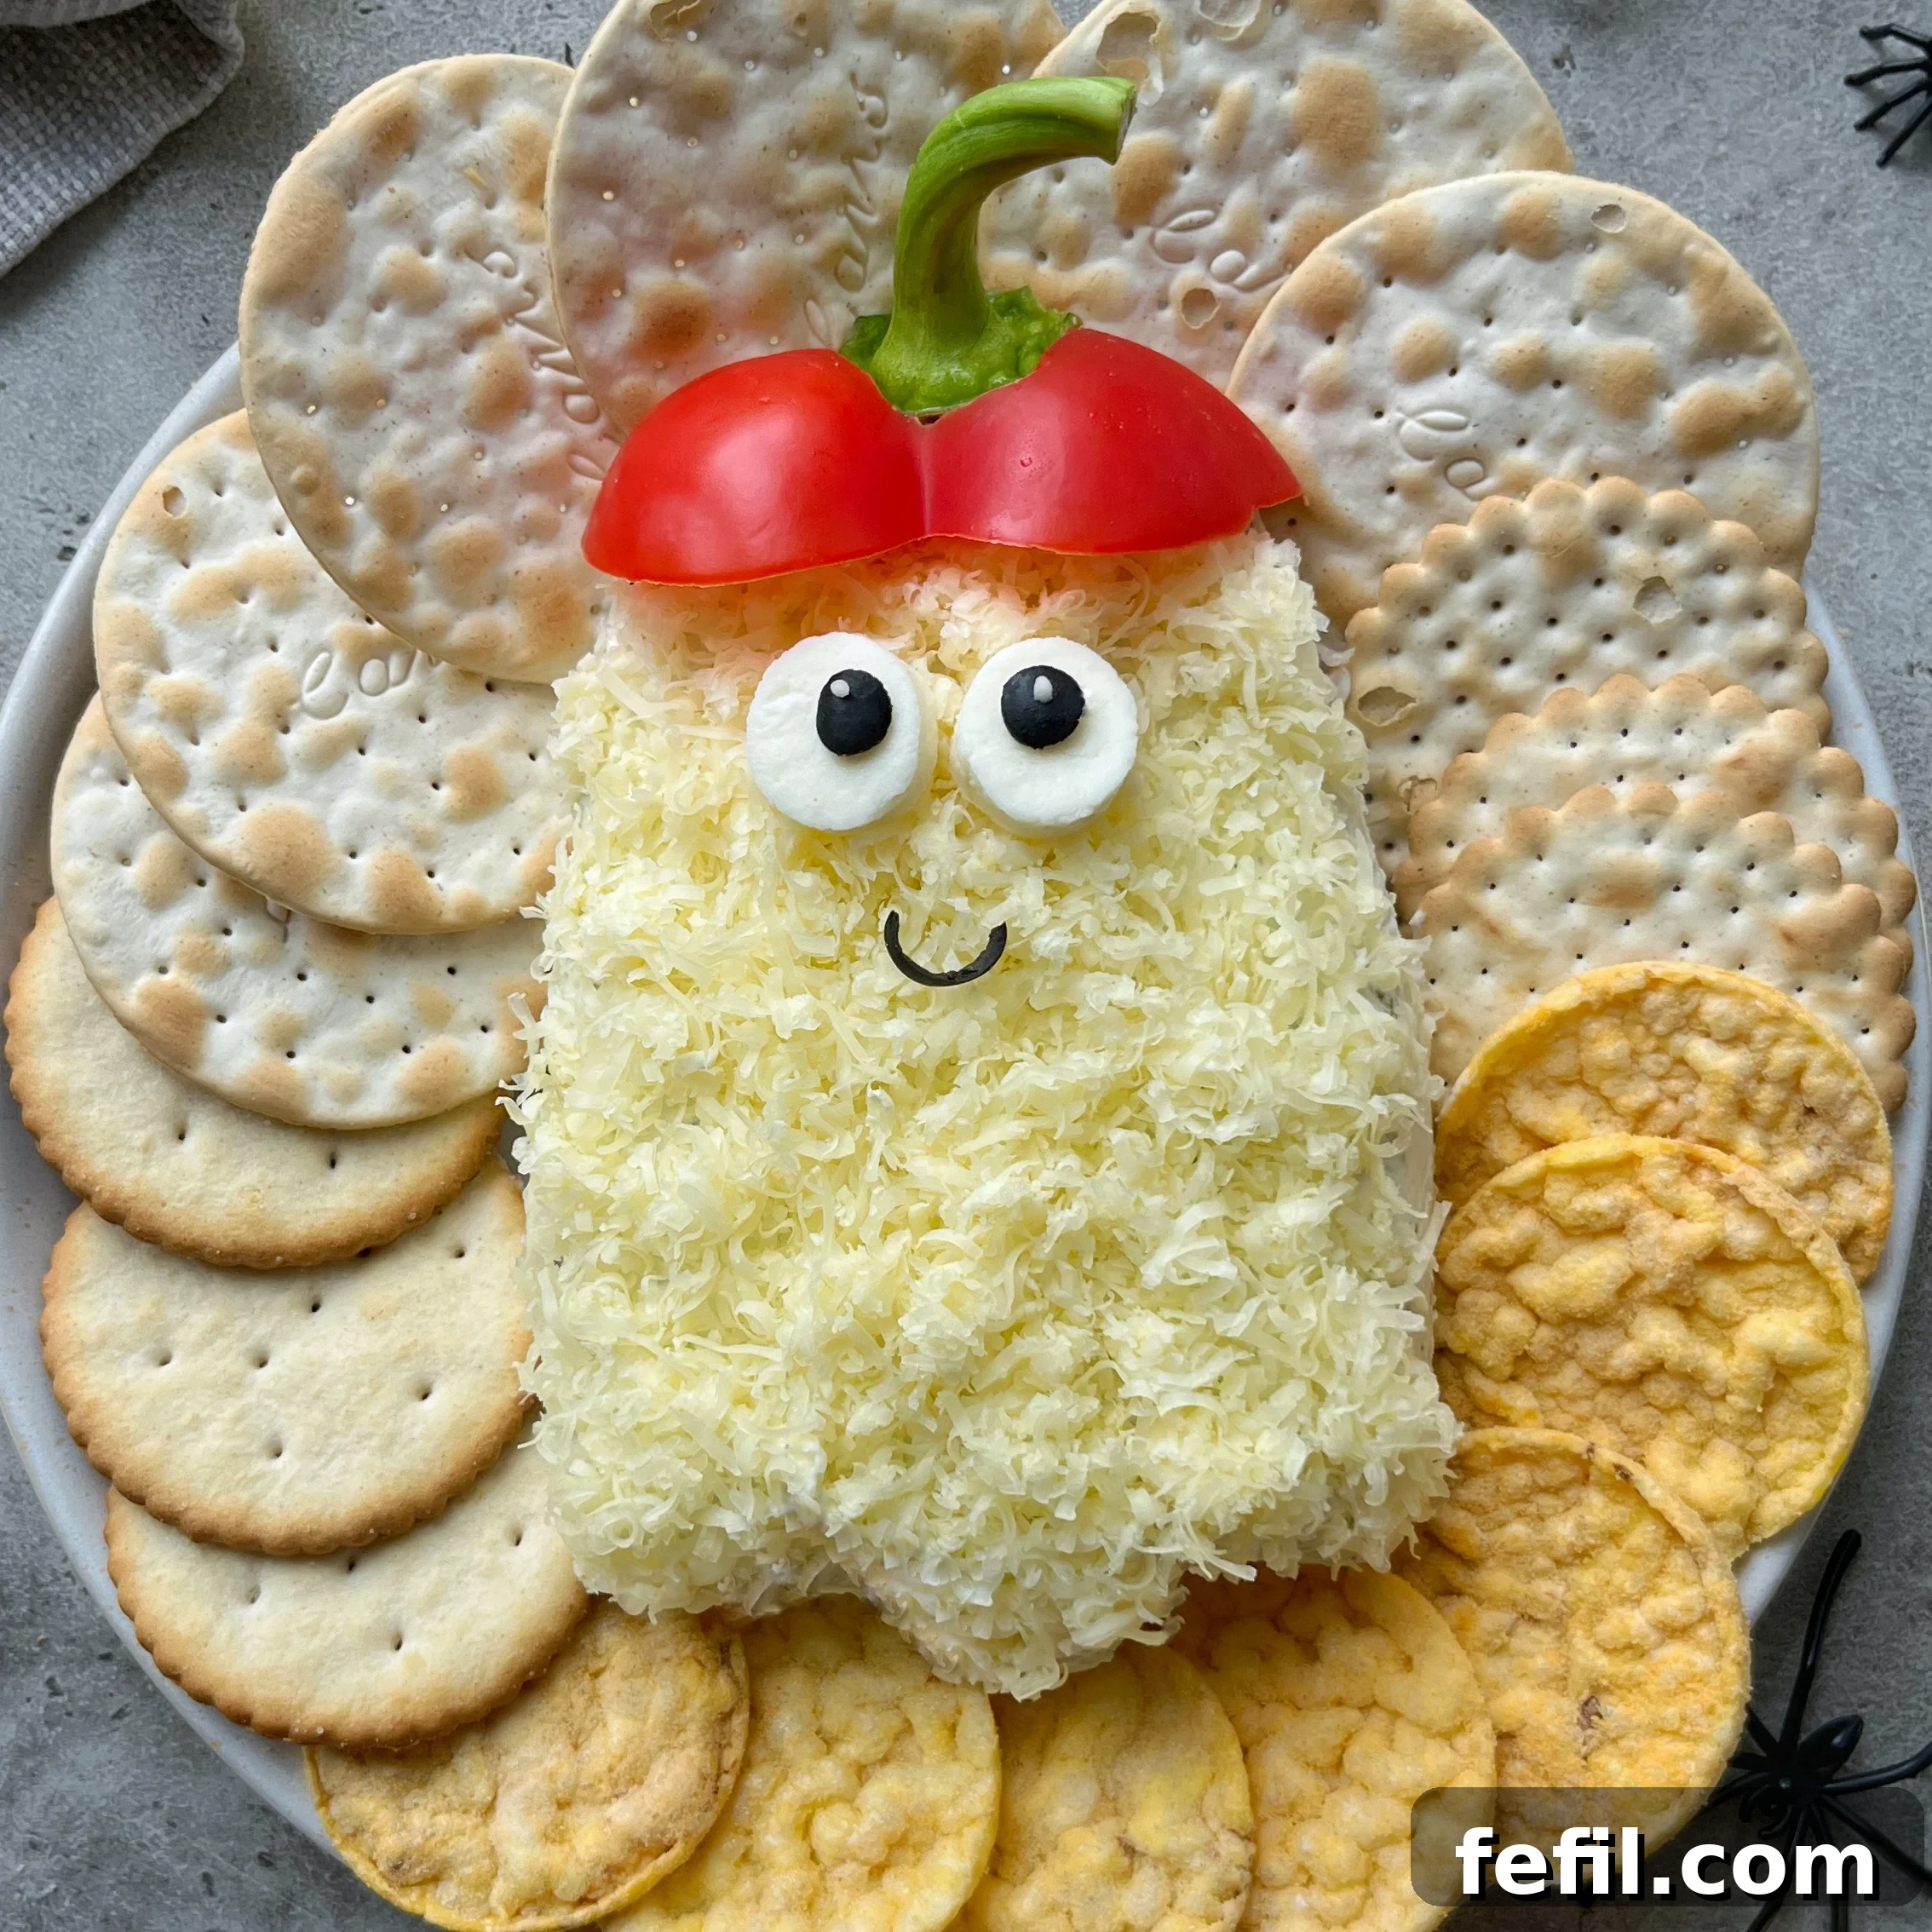
Are you looking for a show-stopping appetizer that’s both adorable and incredibly easy to make for your next Halloween gathering? Look no further than this delightful **Halloween Ghost Cheese Ball**! This charming, spooky-season snack is almost too cute to eat, yet utterly irresistible. It’s the perfect addition to any festive spread, promising to impress your guests with minimal effort.
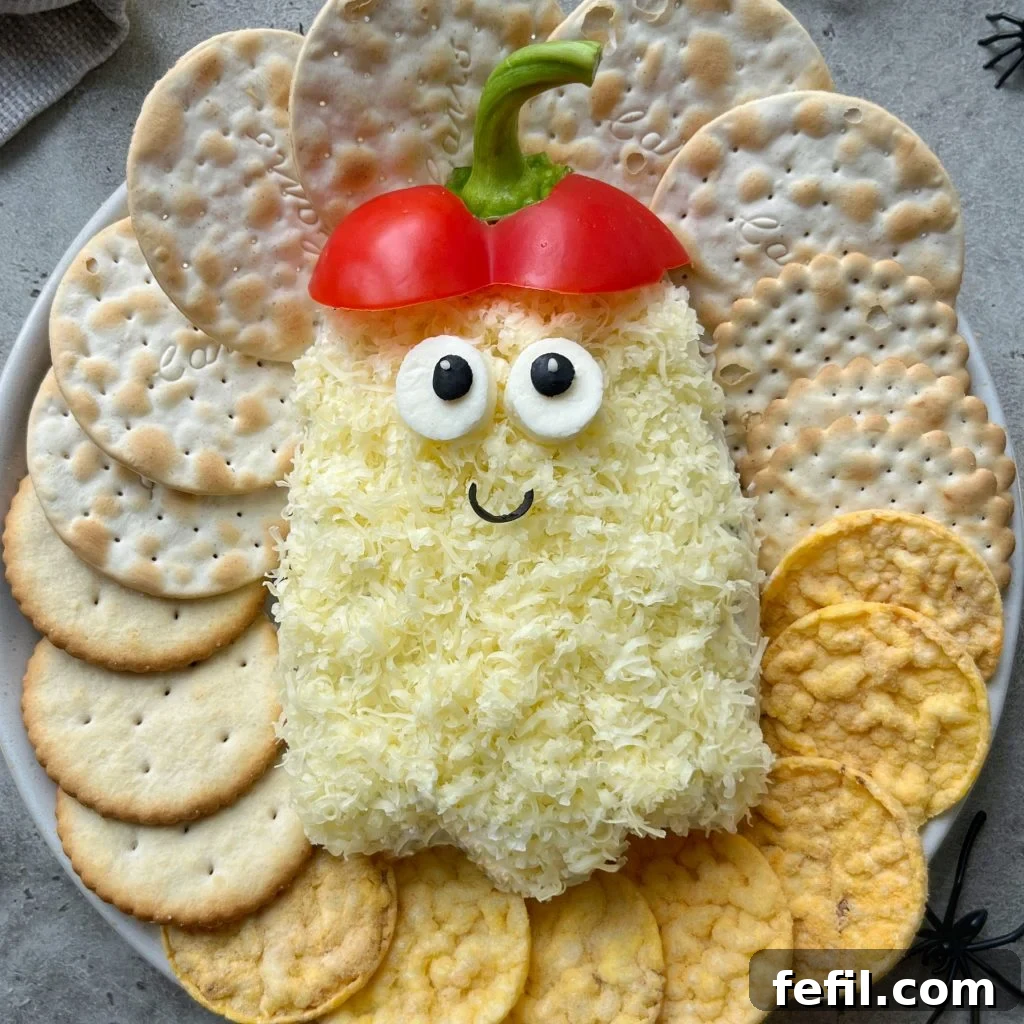
This delicious recipe offers a fantastic alternative to the ubiquitous pumpkin-shaped cheese balls you might typically see during fall. While those are lovely, our ghost rendition brings a unique, playful, and slightly eerie charm that perfectly captures the spirit of Halloween. It’s a fantastic conversation starter and a guaranteed hit with both kids and adults.
Why This Ghost Cheese Ball is a Must-Try for Halloween
Beyond its undeniable cuteness, this ghost cheese ball stands out for several reasons. Firstly, it’s incredibly simple to prepare, requiring just a few staple ingredients and a little bit of creative flair. You don’t need to be a culinary artist to achieve a fantastic result. Secondly, it’s highly customizable, allowing you to tailor the flavors and decorations to your liking. Whether you prefer a sharp cheddar kick or a milder, herb-infused cream cheese base, this recipe is adaptable.
Moreover, appetizers are key to any successful Halloween party, setting the mood before the main course or serving as the main event for a casual get-together. This ghost cheese ball provides a creamy, savory counterpoint to the abundance of sweet treats often found at Halloween parties. It’s substantial enough to satisfy hungry goblins and ghouls, yet light enough not to spoil appetites for other festivities.
The visual appeal is also a huge factor. In an age of social media, a beautifully presented dish like this ghost cheese ball is perfect for sharing and creating lasting memories. Imagine the delight on your guests’ faces as they encounter this friendly, edible spirit!
6
people
Ghostly Good Halloween Cheese Ball
40 minutes
0 minutes
40 minutes
Rate
Essential Equipment for Your Ghost Cheese Ball
-
Metal Straw
A metal straw is surprisingly useful for creating perfect round pupils for your ghost’s eyes from olives or other dark ingredients. Its sharp edge makes clean cuts easy.
-
Small Oval-Shaped Cookie Cutter
This cutter is ideal for shaping the larger, white part of the ghost’s eyes from cheese slices. If you don’t have an oval, a small round one will also work, or you can carefully cut shapes with a knife.
-
Plastic Wrap (Clingfilm)
Essential for shaping the cheese ball and chilling it properly. It helps maintain the ghost form and prevents the cheese from sticking to your hands during the shaping process.
-
Mixing Bowl
For combining the cream cheese and any optional seasonings before shaping.
-
Grater
To finely grate the cheddar cheese, ensuring it adheres well to the ghost shape and provides a smooth, snowy appearance.
-
Serving Platter
A flat platter is perfect for arranging your ghost cheese ball and surrounding crackers, making it easy for guests to access.
Ingredients for Your Spooky Treat
-
200 grams Cream CheeseChoose a good quality cream cheese. For extra flavor, consider using an herb-infused cream cheese or add your own garlic powder, onion powder, and chives to plain cream cheese. Ensure it’s softened at room temperature for easy mixing and shaping.
-
40 grams Cheddar CheeseFinely shredded cheddar cheese will form the ghost’s “sheet.” A mild or medium cheddar works best for color and texture. You can also mix in a small amount of Monterey Jack for added meltiness and flavor.
-
1 Black OliveUsed for the ghost’s eyes and mouth. Pitted black olives are easiest to work with. Alternatively, consider using peppercorns, small pieces of nori (seaweed), or even edible candy eyes.
-
1 Fresh Mozzarella or Cheddar SliceTo create the white part of the ghost’s eyes. A thin slice from a block of mozzarella or cheddar will work perfectly for cutting out shapes.
-
200 grams Assorted CrackersA variety of crackers will offer different textures and flavors, complementing the creamy cheese ball. Think Ritz, wheat thins, vegetable crackers, or even gluten-free options.
-
1 Red Bell PepperFor the ghost’s charming hat. Choose a vibrant red bell pepper that is firm and fresh. The top part with the stem is ideal for shaping into a witch-like hat.
Prevent your screen from going dark
Step-by-Step Instructions for Your Ghost Cheese Ball
-
Prepare the Cream Cheese: Begin by scooping the softened cream cheese onto a large piece of plastic wrap. Ensure the cream cheese is at room temperature to make it pliable and easy to work with. If it’s too cold, it will be stiff and prone to cracking.
-
Shape Your Ghost: Using your hands, gently form the cream cheese into a ghost shape. Start with a rounded base and gradually taper it upwards to create a head. A trick to achieving a smooth, non-sticky surface is to slightly dampen your hands with water before shaping. You can also create a slight “tail” at the bottom for a more dynamic look.
-
Chill for Firmness: Carefully seal the ghost tightly in the plastic wrap, ensuring no air pockets. This step is crucial for the cheese ball to firm up and hold its shape.
-
Refrigerate or Freeze: Place the wrapped cheese ghost in the refrigerator for at least 20 minutes, or in the freezer for about 10-15 minutes. The goal is to make it firm enough to handle and coat without losing its shape.
-
Prepare the Coating: While the cheese ball chills, finely grate the cheddar cheese. The finer the shreds, the better it will adhere to the ghost and create a smooth, “sheet-like” finish.
-
Assemble the Ghost: Once chilled, unwrap the ghost cheese ball and carefully transfer it to your chosen serving platter.
-
Coat with Cheddar: Gently press the shredded cheddar cheese onto the entire surface of the ghost, ensuring it is fully covered. You can do this by rolling the ghost in a bed of cheese or by carefully sprinkling and patting the cheese onto it.
-
Craft the Eyes (White Part): To create the white part of the eyes, slice a thin piece of cheddar or fresh mozzarella. Aim for a slice about 1/8 to 1/4 inch thick.
-
Cut Out Eye Shapes: Use your small oval-shaped cookie cutter to cut out two uniform eye shapes from the cheese slice. If you don’t have an oval cutter, a small round one or even a steady hand with a paring knife can create the desired effect.
-
Add Pupils: For the pupils, take a black olive and use a metal straw to punch out two small, round pieces. The straw creates perfect circles for a clean look. Alternatively, use small capers or black peppercorns.
-
Form the Mouth: Cut a thin, curved strip from the remaining black olive to create the ghost’s smiling mouth. You can also use a small piece of roasted red bell pepper for a different color.
-
Decorate the Ghost: Carefully arrange the cheese eyes, olive pupils, and olive mouth onto the ghost. Position them to give your ghost a friendly or slightly spooky expression. This is where your ghost’s personality comes to life!
-
Prepare the Hat: To make the bell pepper hat, slice off the bumpy top portion of the red bell pepper, the part that includes the stem. This section naturally has a good shape for a hat.
-
Clean the Hat: Gently remove any seeds and white pith from the inside of the bell pepper top. Be careful not to damage the stem, as it will act as the point of the hat.
-
Refine the Hat Shape: Trim the pepper piece into a neat hat shape, making sure the edges are clean. If necessary, cut a small indent or hole where the hat will sit on the ghost’s head to ensure it balances properly.
-
Crown Your Ghost: Carefully place the red bell pepper hat on top of the ghost’s head. Adjust it until it looks perfectly festive.
-
Serve and Enjoy: Arrange assorted crackers around your finished ghost cheese ball. For a healthier option, you can also include chopped vegetables like carrot sticks, celery sticks, cucumber slices, or additional bell pepper strips. Serve immediately or keep refrigerated until party time.
Watch How to Make It!
Prefer visual instructions? Check out this helpful video demonstrating each step to create your perfect ghost cheese ball.
Tips for a Perfectly Spooky Cheese Ball
- Room Temperature Cream Cheese: This is key! If your cream cheese isn’t soft enough, it will be hard to mix and shape smoothly. Take it out of the fridge at least 30 minutes to an hour before you plan to start.
- Wet Hands for Shaping: As mentioned in the instructions, slightly dampening your hands prevents the sticky cream cheese from clinging to them, making the shaping process much easier and resulting in a smoother ghost.
- Chill, Chill, Chill: Don’t skip the chilling step! A firm cheese ball is much easier to coat and decorate. If it starts to soften during decoration, pop it back into the fridge for a few minutes.
- Get Creative with Decorations: While olives and bell peppers are classic, feel free to experiment. Think pretzel sticks for arms, chives for hair, or even a small piece of carrot for a nose. Edible food markers can also add small details if you’re feeling adventurous.
- Customize the Flavor: Beyond plain cream cheese, consider mixing in a dash of garlic powder, onion powder, a spoonful of ranch seasoning, finely chopped chives, or even a hint of hot sauce for a spicy kick. Always taste and adjust before shaping.
Make-Ahead and Storage Options
One of the best features of this Halloween Ghost Cheese Ball is its make-ahead potential, which is a huge advantage when planning a party. You can prepare the cheese ball mixture and shape it up to 2 days in advance. Simply wrap it tightly in plastic wrap and store it in the refrigerator. Wait to apply the shredded cheddar cheese coating and all the facial features (eyes, mouth, and hat) until just before serving. This ensures the decorations look fresh and the cheddar doesn’t dry out or get soggy.
If you have any leftovers (which is unlikely!), store the cheese ball in an airtight container in the refrigerator for up to 3-4 days. While the decorations might soften slightly over time, the cheese ball itself will remain delicious. For best results, allow it to come to room temperature for about 15-20 minutes before serving again to ensure optimal spreadability and flavor.
Serving Suggestions: More Than Just Crackers!
While assorted crackers are a traditional and excellent choice for serving with your ghost cheese ball, don’t limit yourself! Here are some other fantastic ideas to round out your appetizer platter:
- Fresh Vegetables: Provide a healthy crunch with colorful vegetable sticks like carrot and celery sticks, cucumber slices, bell pepper strips (red, yellow, orange), broccoli florets, or even cherry tomatoes.
- Pretzel Crisps or Sticks: These offer a salty, crunchy contrast and are sturdy enough to scoop up a good portion of the cheese ball. Pretzel sticks can also be used as “ghost arms” sticking out from the sides!
- Toasted Bagel Chips or Pita Bread: Cut pita bread into triangles, brush with olive oil, sprinkle with a pinch of salt, and bake until crispy. Bagel chips provide a hearty base for the creamy cheese.
- Apple or Pear Slices: For a sweet and savory combination, thin slices of crisp apples or pears pair wonderfully with the rich cheese.
- Gluten-Free Options: Ensure all your guests can enjoy by offering gluten-free crackers or rice cakes.
Arranging your serving platter with a variety of dippers not only looks appealing but also caters to different preferences and dietary needs, making your Halloween party even more inclusive.
Nutrition Information (Approximate)
Calories:
314
kcal
,
Carbohydrates:
24
g
,
Protein:
6
g
,
Fat:
22
g
,
Saturated Fat:
10
g
,
Polyunsaturated Fat:
4
g
,
Monounsaturated Fat:
6
g
,
Trans Fat:
0.4
g
,
Cholesterol:
40
mg
,
Sodium:
455
mg
,
Potassium:
131
mg
,
Fiber:
1
g
,
Sugar:
5
g
,
Vitamin A:
1139
IU
,
Vitamin C:
25
mg
,
Calcium:
133
mg
,
Iron:
2
mg
Nutrition information is automatically calculated and is provided as an estimate only. It should not be considered a substitute for professional nutritional advice.
Did you make this recipe? Share your spooky creation!
We’d love to see your ghostly cheese ball. Leave a comment below with your thoughts or tag us on social media!