
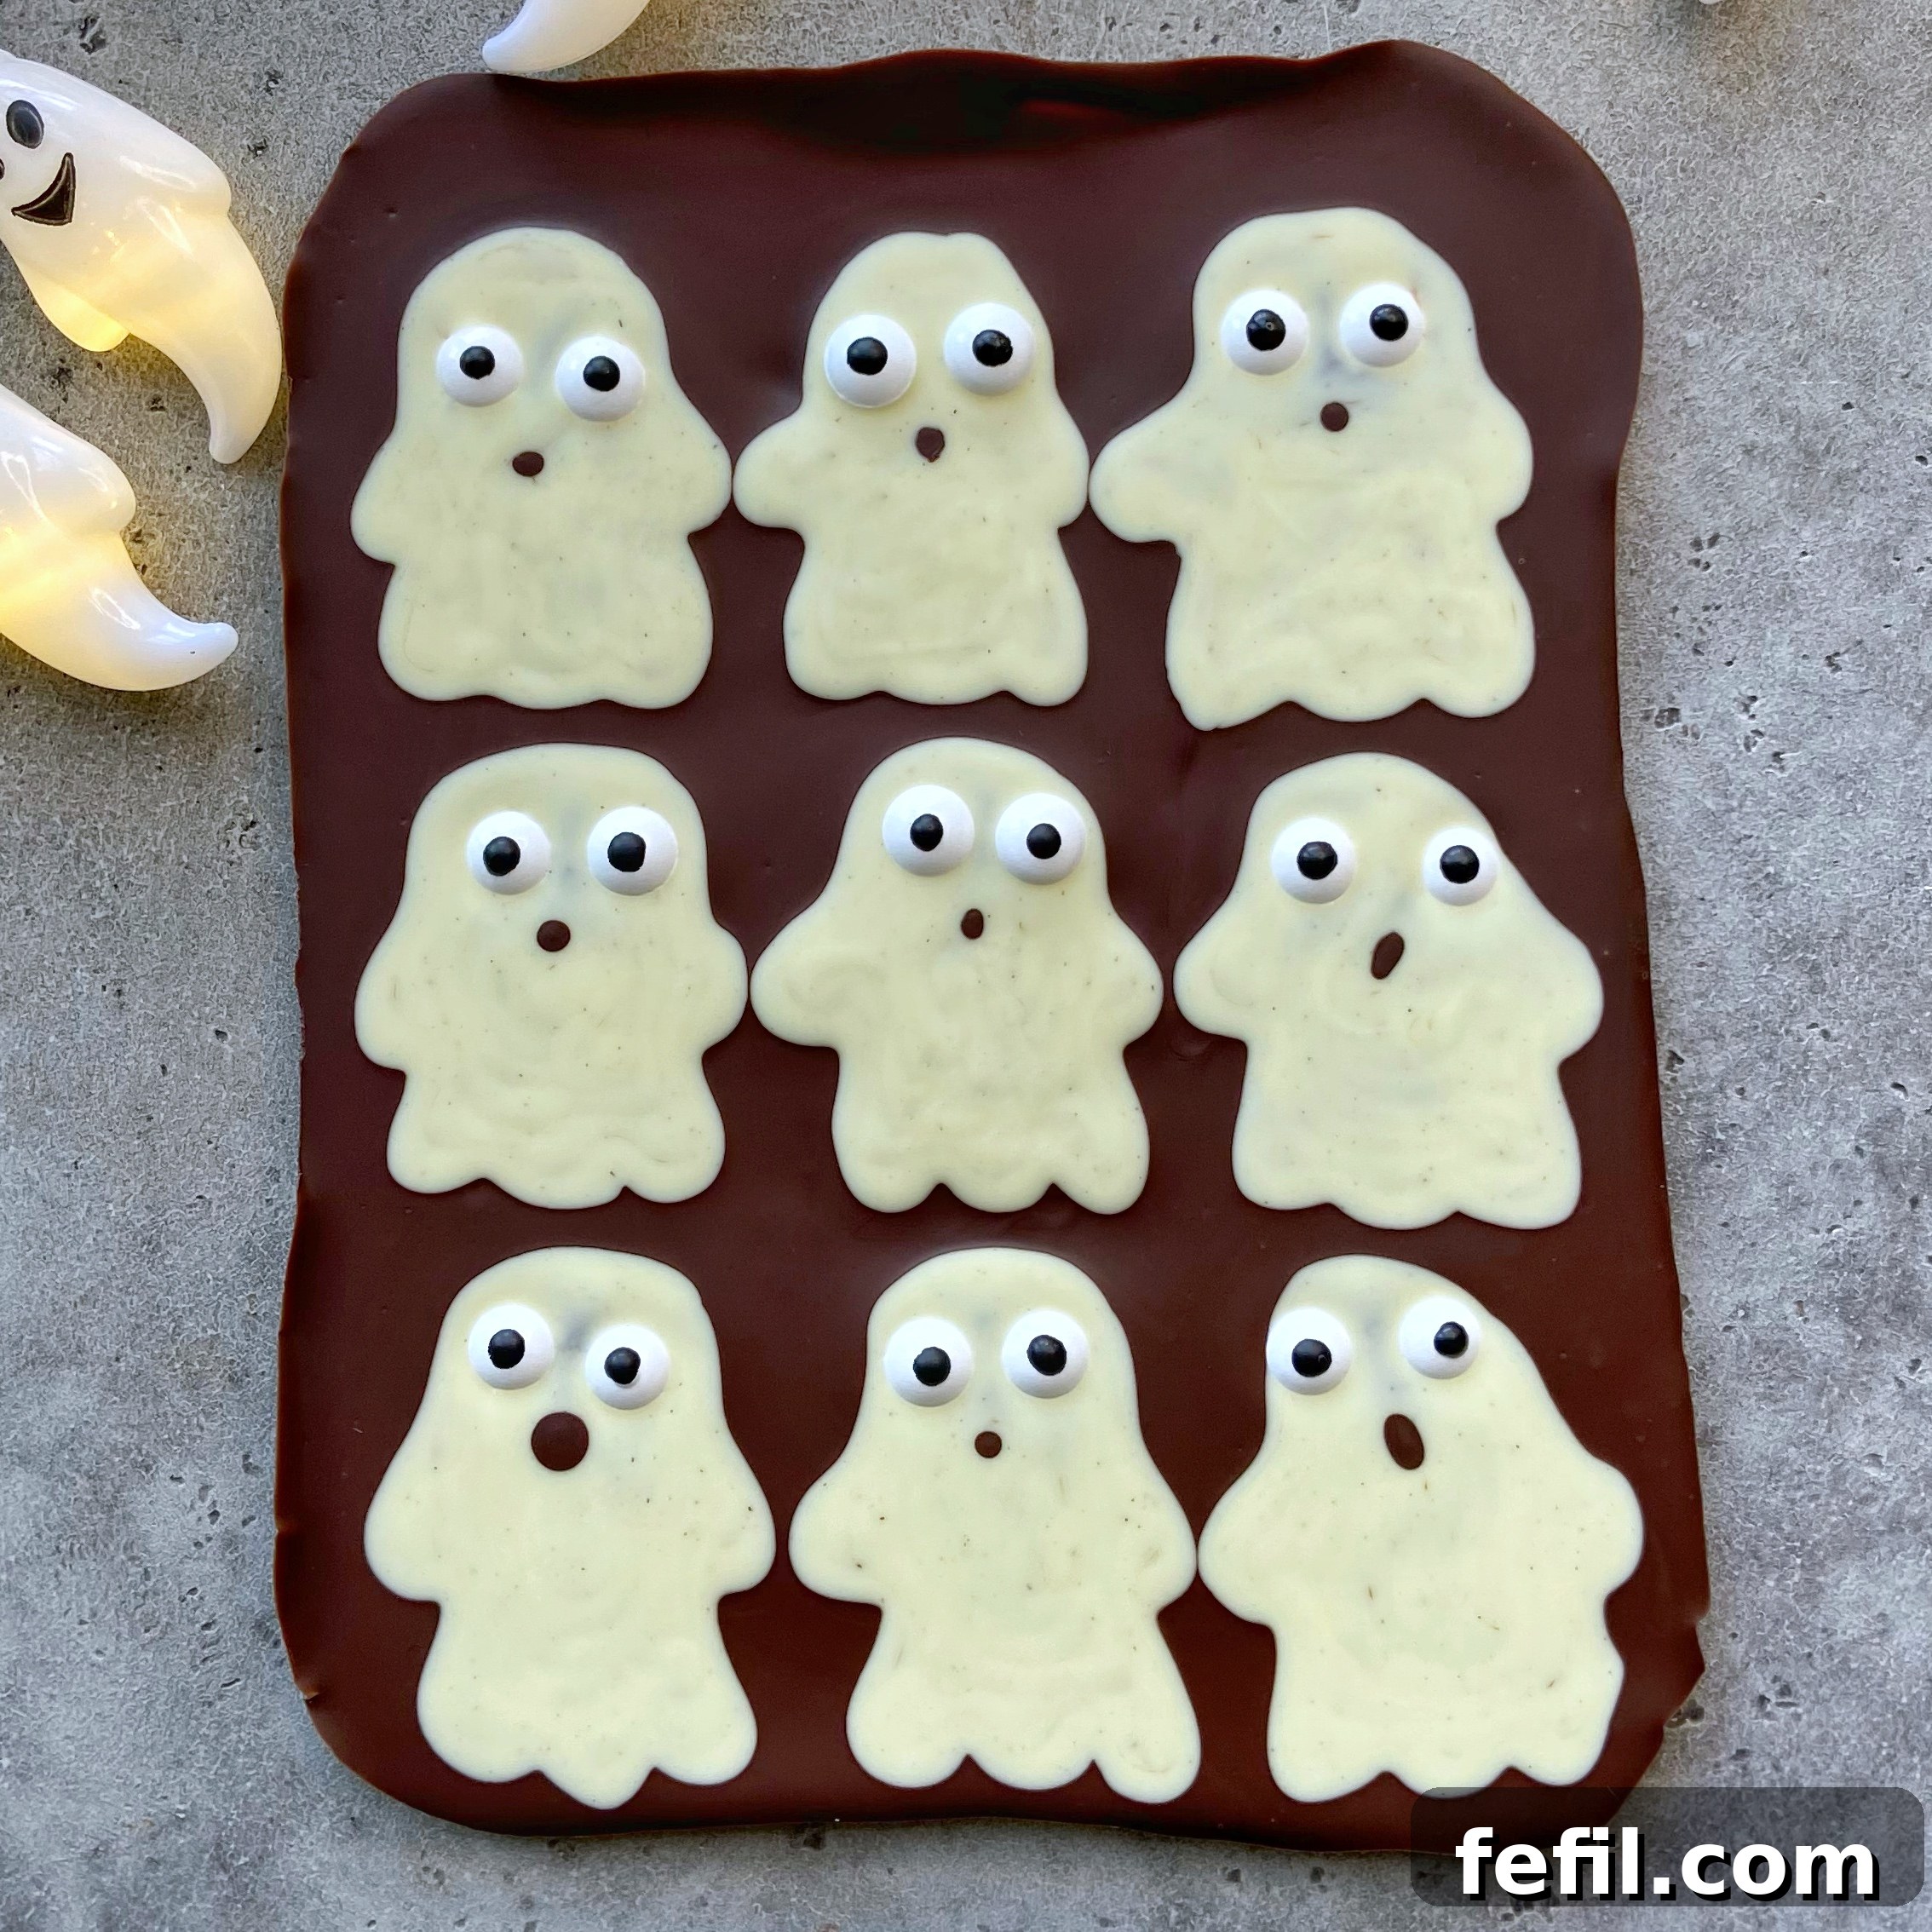
Spooktacular Halloween Chocolate Bark: An Easy & Adorable Ghostly Treat
As the air grows crisp and autumn leaves begin to fall, there’s a special kind of magic that fills the atmosphere, signaling the arrival of Halloween. What better way to celebrate this enchanting season than with a delightful, homemade treat that’s as charming as it is delicious? Forget complicated baking – this **Halloween Chocolate Bark** recipe is your secret weapon for creating an irresistibly cute and incredibly easy dessert. Crafted with a rich dark chocolate base and adorned with whimsical white chocolate ghosts, it’s a show-stopping delight that promises smiles all around.
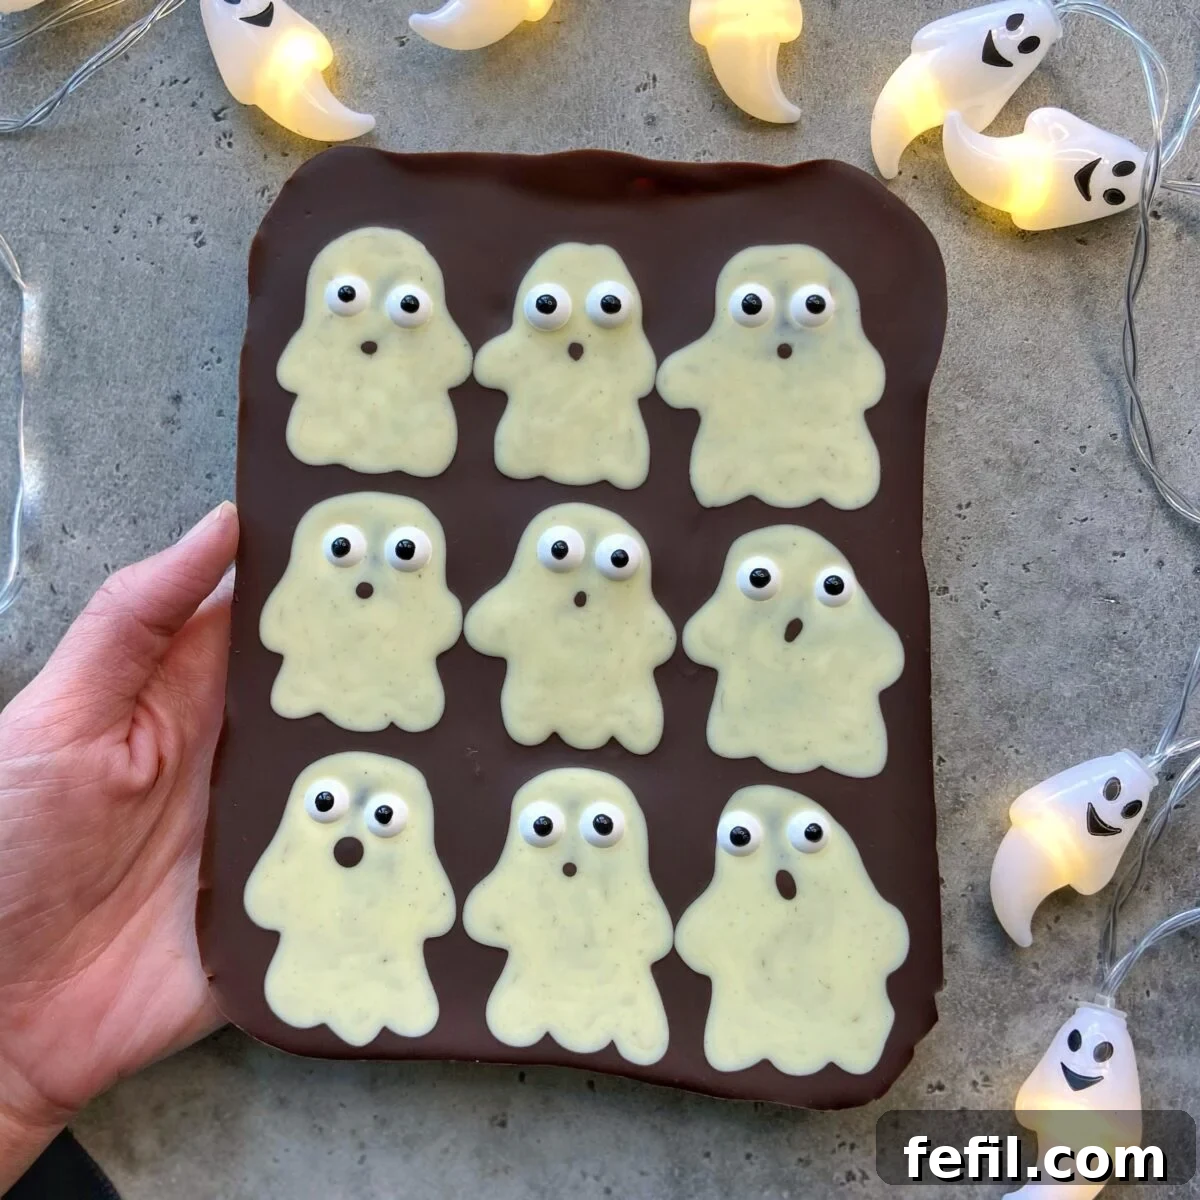
This delightful chocolate bark isn’t just another sweet treat; it’s a canvas for your creativity. With just a few simple ingredients and a dash of imagination, you can transform ordinary chocolate into an extraordinary Halloween masterpiece. The star of the show? Those adorable, hand-holding ghosts piped onto the dark chocolate canvas. They’re guaranteed to be the highlight of any Halloween gathering, school party, or cozy night in with family.
Why This Halloween Chocolate Bark Will Be Your New Favorite Treat
There are countless reasons to fall in love with this ghostly chocolate bark. Here are just a few:
- Effortlessly Easy: No baking required! If you can melt chocolate, you can make this bark. It’s a fantastic no-fuss recipe for busy Halloween preparations.
- Kid-Friendly Fun: This recipe is perfect for involving little hands in the kitchen. Kids will adore helping to pipe the ghosts and place the candy eyes, making it a memorable family activity.
- Visually Stunning: The contrast between the dark chocolate and the white chocolate ghosts, complete with their expressive candy eyes, creates a truly eye-catching dessert that perfectly captures the Halloween spirit.
- Customizable: While we love the classic dark and white chocolate combination, this recipe is incredibly versatile. Feel free to experiment with different types of chocolate or additional toppings.
- Perfect for Gifting: Homemade chocolate bark makes an incredibly thoughtful and festive gift. Simply wrap pieces in cellophane, tie with a spooky ribbon, and you have charming presents for friends, neighbors, or teachers.
- Quick to Make: With a total time of just 25 minutes (mostly passive cooling), you can whip up a batch of this bark in no time, making it ideal for last-minute party needs.
Pro Tip: Elevate Your Gifting Game!
This chocolate bark isn’t just for eating at home! It makes an absolutely perfect Halloween gift. Once the bark has fully set, break it into irregular pieces. Arrange them artfully in clear cellophane bags, tie them with vibrant orange or black ribbons, and perhaps add a small, handwritten tag. These edible gifts are sure to delight anyone lucky enough to receive them!
Halloween Chocolate Bark
Cute dark chocolate bark topped with adorable white chocolate ghosts! This simple, no-bake recipe is a perfect holiday project for all ages.
25 minutes
0 minutes
25 minutes
6
servings
Print Recipe
Equipment
- piping utensil or bag (a zip-top bag with the corner snipped off works too!)
- parchment paper
- toothpick
- Microwave-safe bowls or a double boiler for melting chocolate
Ingredients
- 100 grams (approx. 3.5 oz) dark chocolate, high quality recommended
- 100 grams (approx. 3.5 oz) white chocolate, good quality melting wafers work best
- 18 candy eyes (or more, depending on your ghost count!)
- Optional: A tiny pinch of beetroot powder for rosy ghost cheeks
Instructions
- Prepare Your Workspace: Lay out a sheet of parchment paper on a flat baking tray or cutting board. This will prevent your chocolate from sticking and make cleanup a breeze.
- Melt the Dark Chocolate: Break the dark chocolate into small pieces. Melt it gently either in a microwave-safe bowl (in 20-30 second intervals, stirring well each time) or using a double boiler over simmering water. Stir until completely smooth and free of lumps.
- Form the Bark Base: Pour the melted dark chocolate onto the prepared parchment paper. Using the back of a spoon or an offset spatula, spread it evenly into a rectangle, about 1/4 inch thick. Don’t worry about perfection; rustic edges add to the charm of bark!
- Chill and Set: Place the tray in the refrigerator for about 10-15 minutes, or until the dark chocolate is firm and set. This is crucial before adding the white chocolate layer.
- Melt the White Chocolate: While the dark chocolate sets, melt the white chocolate using the same gentle method as the dark chocolate. Ensure it’s smooth and fluid.
- Prepare for Piping: Transfer the melted white chocolate into a piping utensil or a sturdy zip-top bag. If using a bag, snip a tiny corner off the bottom for controlled piping.
- Pipe Your Ghosts: Take the set dark chocolate bark out of the refrigerator. Pipe small, irregular ghost shapes directly onto the dark chocolate. Don’t be afraid to make them unique! For a charming touch, pipe them close enough so they appear to be holding hands or floating together.
- Add the Candy Eyes: While the white chocolate ghosts are still wet, carefully place two candy eyes onto each ghost. Press them gently to ensure they adhere.
- Create Spooky Mouths (Optional): For expressive ghost faces, dip a clean toothpick into a tiny bit of the remaining melted dark chocolate (you might need to re-melt a small amount). Carefully draw small mouths or even eyebrows onto your white chocolate ghosts.
- Final Set and Serve: Return the chocolate bark to the refrigerator for another 10-15 minutes, or until the white chocolate and all decorations are completely firm. Once fully set, gently break the bark into irregular pieces. Serve immediately or store for later enjoyment!
Pro Tips for Crafting Your Spooktacular Bark
Achieving perfect chocolate bark is simpler than you might think. Follow these tips for the best results:
- Quality Chocolate Matters: For the best flavor and melting consistency, choose high-quality dark and white chocolate. Chocolate chips work, but baking bars or couverture chocolate will give you a smoother finish.
- Gentle Melting is Key: Chocolate can be finicky. Always melt it slowly and gently to prevent it from seizing or burning. If using a microwave, stir frequently. If using a double boiler, ensure the bowl doesn’t touch the water and no steam gets into the chocolate.
- Don’t Overheat White Chocolate: White chocolate is particularly prone to seizing or becoming grainy if overheated. Melt it at a lower temperature and in shorter intervals than dark chocolate.
- Piping Bag Alternative: If you don’t have a piping bag, a sturdy freezer bag or zip-top bag works wonderfully. Just fill it with melted chocolate, snip a tiny corner (start small!), and pipe away.
- Creating Rosy Cheeks (Optional Enhancement): Once your ghosts are fully set, you can add a touch of color. Dip a very small, clean paintbrush or the tip of a toothpick into a tiny bit of beetroot powder. Gently dab it onto the “cheeks” of your ghosts for an adorable, rosy glow. This adds an extra layer of charm!
- Chill Thoroughly: Ensure both layers of chocolate are completely set before handling or breaking the bark. Rushing this step can lead to messy results.
- Clean Breaks: For neat breaks, you can score the back of the bark with a sharp knife before snapping, or simply embrace the organic, irregular shapes that come naturally with bark.
Creative Variations & Topping Ideas
While the ghostly design is utterly charming, don’t hesitate to personalize your Halloween Chocolate Bark with other spooky additions:
- Spooky Sprinkles: Before the white chocolate ghosts set, sprinkle some Halloween-themed sprinkles (bats, pumpkins, bones, orange and black jimmies) over the bark for extra flair.
- Crushed Cookies: Crumble some Oreo cookies or chocolate wafers over the dark chocolate base before it sets, or mix them into the white chocolate for added texture.
- Candy Corn & Candies: Scatter candy corn, miniature Halloween M&M’s, or chopped gummy worms onto the wet chocolate for a burst of color and flavor.
- Spiderweb Effect: After piping the white chocolate ghosts, you can drizzle a bit more melted dark chocolate in concentric circles around a ghost and drag a toothpick from the center outwards to create a spiderweb effect.
- Different Chocolate Flavors: Experiment with milk chocolate for the base, or add a drizzle of orange-colored white chocolate (using oil-based food coloring) for a true Halloween palette.
- Edible Glitter: Lightly dust the finished bark with edible glitter for a magical, shimmering effect.
Storage and Gifting Your Halloween Treat
This Halloween Chocolate Bark is perfect for making ahead and sharing. Here’s how to store it properly:
- At Room Temperature: Store your chocolate bark in an airtight container at cool room temperature (below 70°F or 21°C) for up to 2 weeks. Keep it away from direct sunlight or heat sources, which can cause the chocolate to melt or bloom.
- In the Refrigerator: If your home is warmer, or if you prefer a firmer bark, you can store it in the refrigerator. Place it in an airtight container, preferably with parchment paper between layers, for up to 3 weeks. Let it come to room temperature for a few minutes before serving for the best texture.
- Freezing: For longer storage, chocolate bark freezes well for up to 2-3 months. Wrap it tightly in plastic wrap, then place it in a freezer-safe bag or container. Thaw in the refrigerator before serving.
- Gifting Presentation: As mentioned, this bark makes a fantastic gift. Break it into varying sizes, arrange them in clear cello bags, tie with a festive ribbon, and add a custom label. They make delightful party favors or treats for trick-or-treaters (if individually wrapped).
Frequently Asked Questions (FAQs)
- Can I use chocolate chips instead of baking bars?
- Yes, you can use good quality chocolate chips. However, baking bars or melting wafers typically melt more smoothly and set with a better snap.
- My chocolate seized! What went wrong?
- Chocolate seizes when even a tiny amount of water or steam gets into it during the melting process. Ensure your bowls and utensils are perfectly dry, and if using a double boiler, make sure the bottom of your bowl doesn’t touch the simmering water.
- How can I make the ghosts look more defined?
- For sharper ghost shapes, allow your white chocolate to cool slightly after melting (but still be liquid enough to pipe). A smaller opening on your piping bag will also give you more control.
- Can I make this dairy-free or vegan?
- Absolutely! Many brands offer dairy-free dark and white chocolate options. Just ensure all your ingredients, including candy eyes, are suitable for your dietary needs.
- What if I don’t have candy eyes?
- No candy eyes? No problem! You can pipe tiny dots of dark chocolate for eyes, or use mini chocolate chips (pointy side down) for a similar effect.
Watch the Recipe Video
Follow along with our video tutorial for a visual guide to making this adorable Halloween chocolate bark!
Nutrition Information (per serving)
Calories:
190kcal
Carbohydrates:
18g
Protein:
2g
Fat:
12g
Saturated Fat:
7g
Polyunsaturated Fat:
0.4g
Monounsaturated Fat:
4g
Trans Fat:
0.01g
Cholesterol:
4mg
Sodium:
18mg
Potassium:
167mg
Fiber:
2g
Sugar:
14g
Vitamin A:
12IU
Vitamin C:
0.1mg
Calcium:
45mg
Iron:
2mg
Nutrition information is automatically calculated, so should only be used as an approximation. It may vary based on specific ingredient brands and preparation methods.
Did you make this recipe?
We’d love to see your spooky creations! Share your photos and leave a comment below to let us know how it turned out.
Conclusion
This Halloween Chocolate Bark is more than just a dessert; it’s a celebration of all things spooky and sweet. Its simplicity makes it accessible for even the most novice of kitchen adventurers, while its adorable presentation guarantees it will be a talking point at any Halloween event. Whether you’re preparing for a festive party, looking for a fun activity with the kids, or simply craving a delicious and seasonal treat, this ghostly bark delivers. So gather your ingredients, unleash your inner ghoul, and get ready to create some magical Halloween memories, one chocolatey bite at a time!