
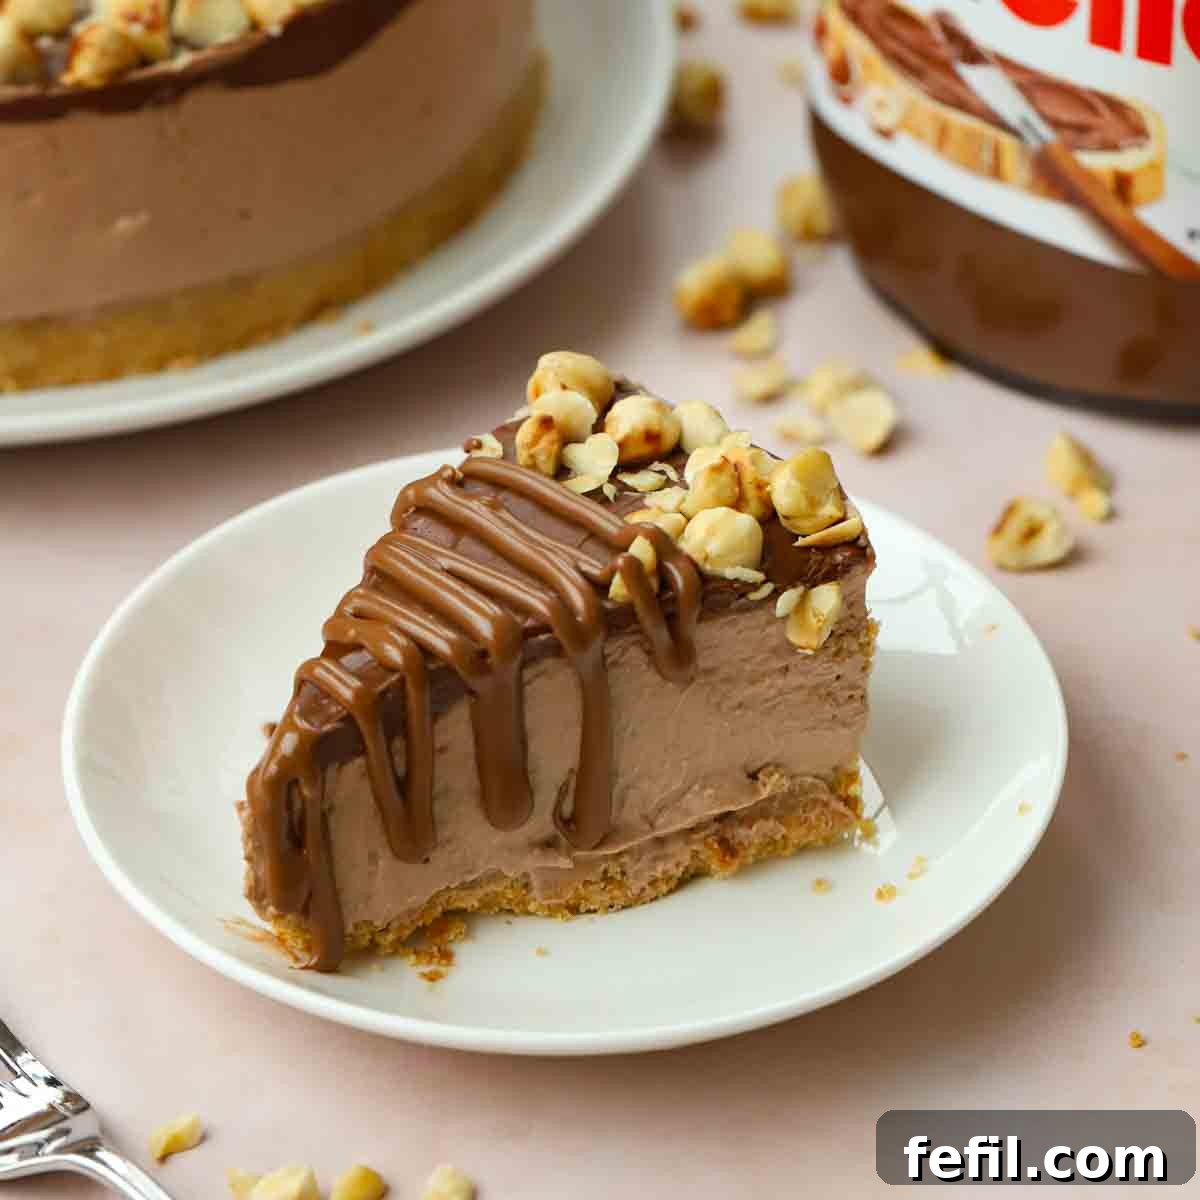
The Ultimate No-Bake Nutella Cheesecake: Easy, Creamy, and Irresistible!
Prepare to fall in love with the ultimate No-Bake Nutella Cheesecake. This sensational dessert is a dream come true for every Nutella enthusiast, promising an incredibly easy preparation with just 6 core ingredients and an utterly delicious, velvety smooth result. Imagine rich chocolate, decadent hazelnut, and creamy cheesecake bliss, all without ever turning on your oven!
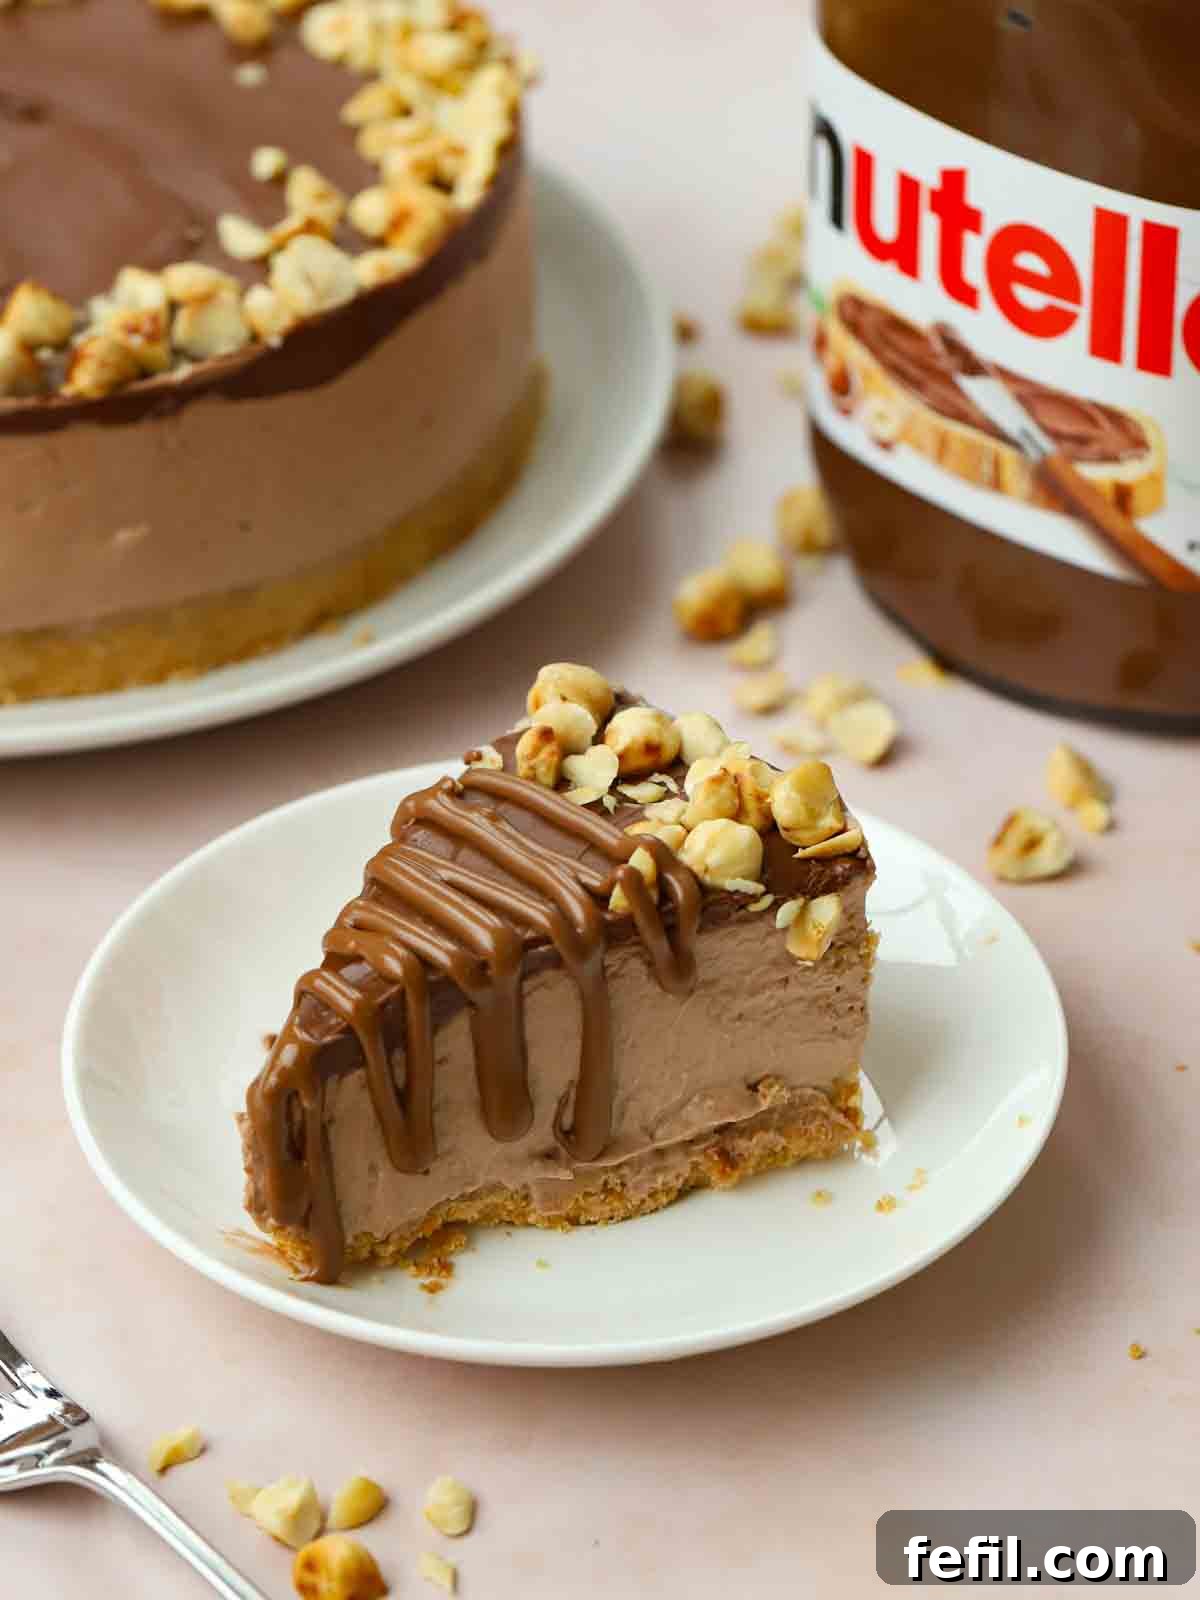
Oh, No-Bake Nutella Cheesecake, where do I even begin to count the ways I adore you? Your delightful blend of rich chocolate and toasted hazelnuts is simply divine. The fact that you come together quickly, with minimal fuss, using a straightforward recipe, only adds to your charm. As a show-stopping, impressively creamy, and deeply chocolatey dessert, you are truly perfect for any special occasion – or even just a well-deserved treat after a long week. This recipe has quickly become a contender for one of my all-time favorite cheesecake recipes, and I’m thrilled to share my foolproof method with you. Get ready to create a dessert that will earn you endless compliments!
Why You’ll Fall in Love with This Easy Nutella Cheesecake
This isn’t just another dessert recipe; it’s a culinary revelation that combines simplicity with spectacular results. Here’s why this No-Bake Nutella Cheesecake is about to become your new go-to:
- ⭐️ A True Showstopper, Surprisingly Quick & Effortless: Despite its elegant appearance and rich flavor, this cheesecake is astonishingly simple to prepare. Forget complicated baking steps or precise oven temperatures. With this recipe, you’ll create a dessert that looks like it took hours of effort, but actually comes together in a fraction of the time, making it perfect for impressing guests without the stress.
- ⭐️ Perfect for Making Ahead: Life is busy, and dessert shouldn’t add to the rush. This no-bake wonder is ideal for preparing in advance. You can assemble it the day before, or even earlier, and simply chill it in the fridge. This frees up your time on the day of your event, allowing you to relax and enjoy the moment without last-minute kitchen duties.
- ⭐️ Only 6 Core Ingredients! Yes, you read that right! This recipe uses a handful of readily available ingredients to create something truly magical. Minimal ingredients mean less shopping, less fuss, and a more budget-friendly dessert. It’s proof that you don’t need a lengthy ingredient list to achieve extraordinary flavor and texture.
- ⭐️ Rich & Creamy Texture: Prepare for an unparalleled melt-in-your-mouth experience. The filling is luxuriously smooth and creamy, perfectly contrasting with the crisp biscuit base and the rich Nutella topping. Each bite is a harmonious blend of textures that will leave you craving more.
- ⭐️ No Oven Required: As the name suggests, this cheesecake requires absolutely no baking. This is a huge advantage, especially during warmer months when you want to avoid heating up your kitchen. It also makes it accessible for those without an oven or who prefer simpler preparation methods.
Essential Ingredients for Your Nutella Cheesecake
The beauty of this recipe lies in its simplicity and the quality of its few ingredients. Here’s a closer look at what you’ll need to create this irresistible dessert:
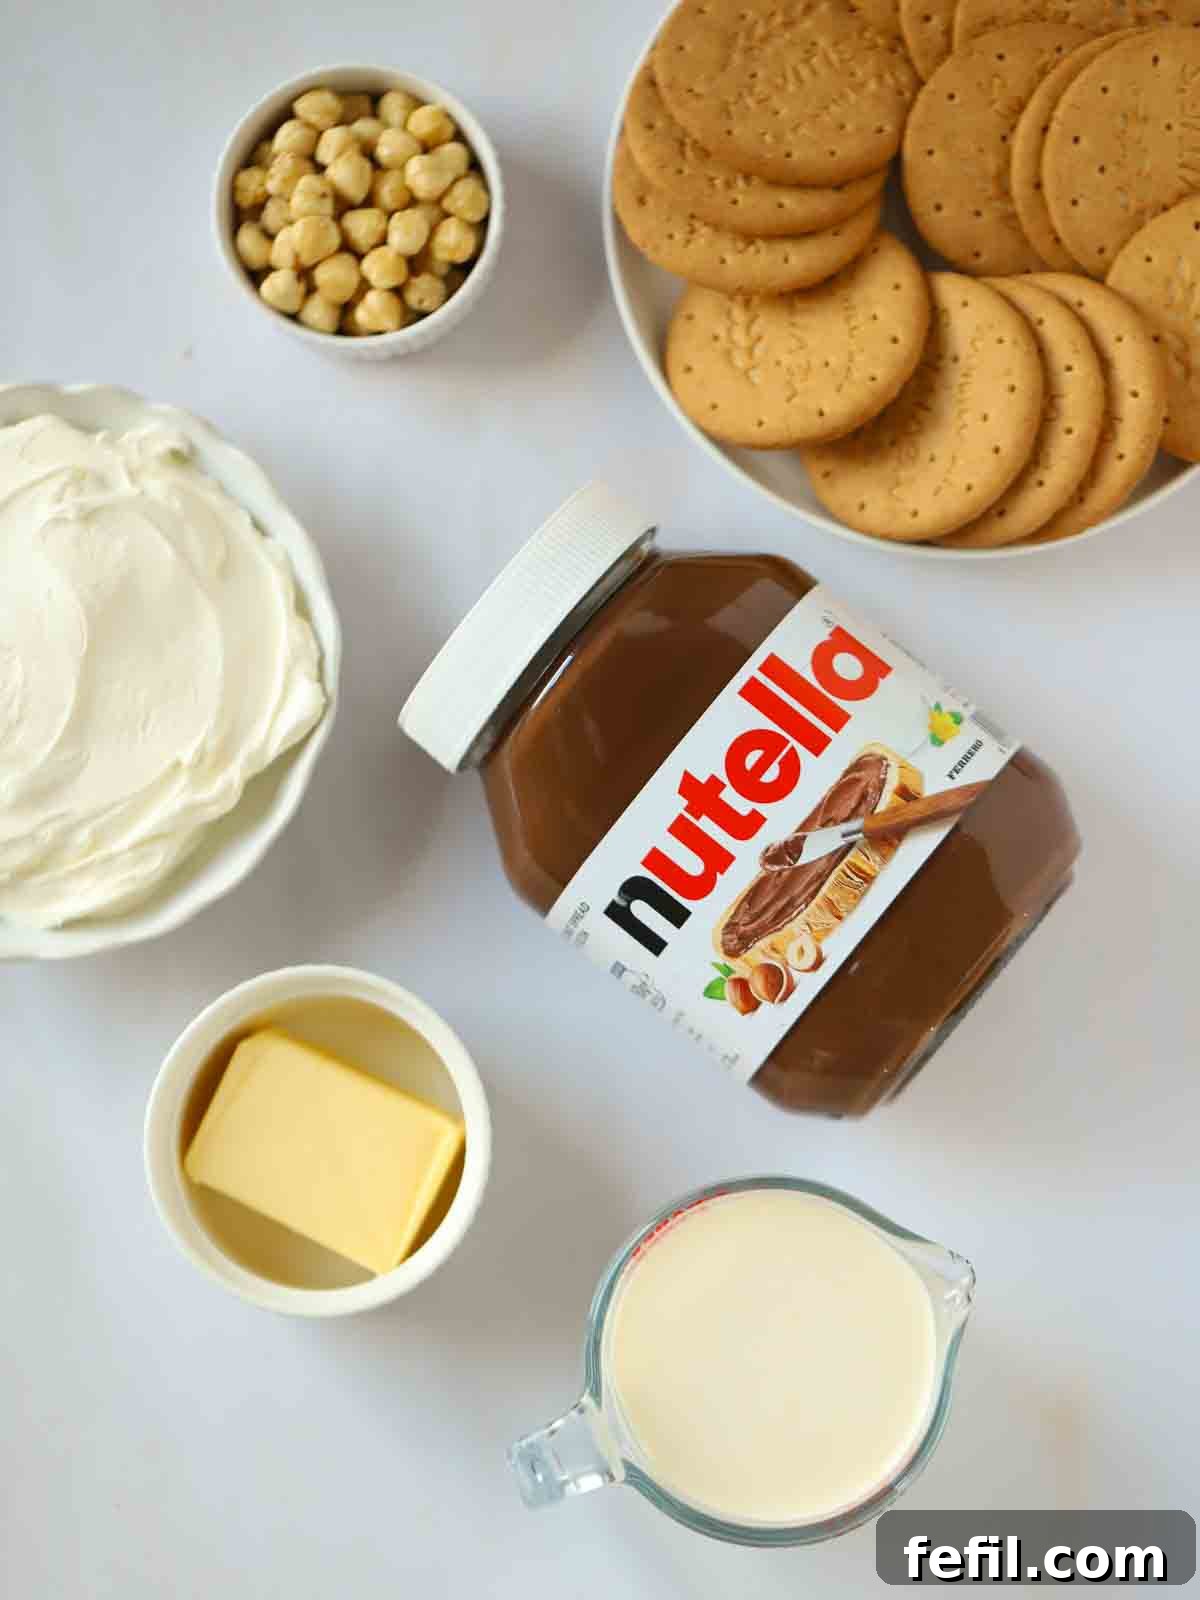
- Digestive Biscuits: These classic British biscuits provide the perfect crumbly, buttery base for our cheesecake. They have a slightly sweet and salty flavor that complements the rich Nutella filling beautifully. If you’re in the US and can’t find digestive biscuits, Graham Crackers make an excellent substitute. You’ll be crushing these to a fine crumb.
- Unsalted Butter: Melted butter binds the biscuit crumbs together, forming a firm and flavorful base. Using unsalted butter gives you control over the saltiness of the base, allowing the other flavors to shine. A quick melt in the microwave is all it takes!
- Double Cream: This is crucial for achieving that wonderfully thick and stable cheesecake filling. Double cream (or heavy cream in the US) has a high fat content, which whips up beautifully and provides a rich, luxurious mouthfeel. Refer to our tips below for the ideal whipping consistency to ensure your cheesecake sets perfectly.
- Full-Fat Cream Cheese: Absolutely essential! For a cheesecake that sets firmly and boasts that signature tangy creaminess, always opt for full-fat cream cheese. Low-fat varieties contain too much water, which can result in a runny, disappointing cheesecake. Make sure it’s at room temperature for easier mixing and a smoother filling.
- Nutella Spread: The star of the show! This iconic chocolate-hazelnut spread infuses the cheesecake with its distinctive, beloved flavor. While Nutella is the classic choice, feel free to use your favorite chocolate hazelnut spread if you prefer. You’ll be using it in both the filling and as a gorgeous topping.
- Hazelnuts: Crushed hazelnuts add a delightful textural contrast and enhance the hazelnut notes in the Nutella. They provide a lovely crunch and a gourmet touch to the finished dessert. Lightly toasting them before crushing can further deepen their flavor.
Step-by-Step: How to Craft Your Perfect Nutella Cheesecake
Creating this no-bake Nutella cheesecake is straightforward and incredibly rewarding. Follow these simple steps for a truly magnificent dessert:
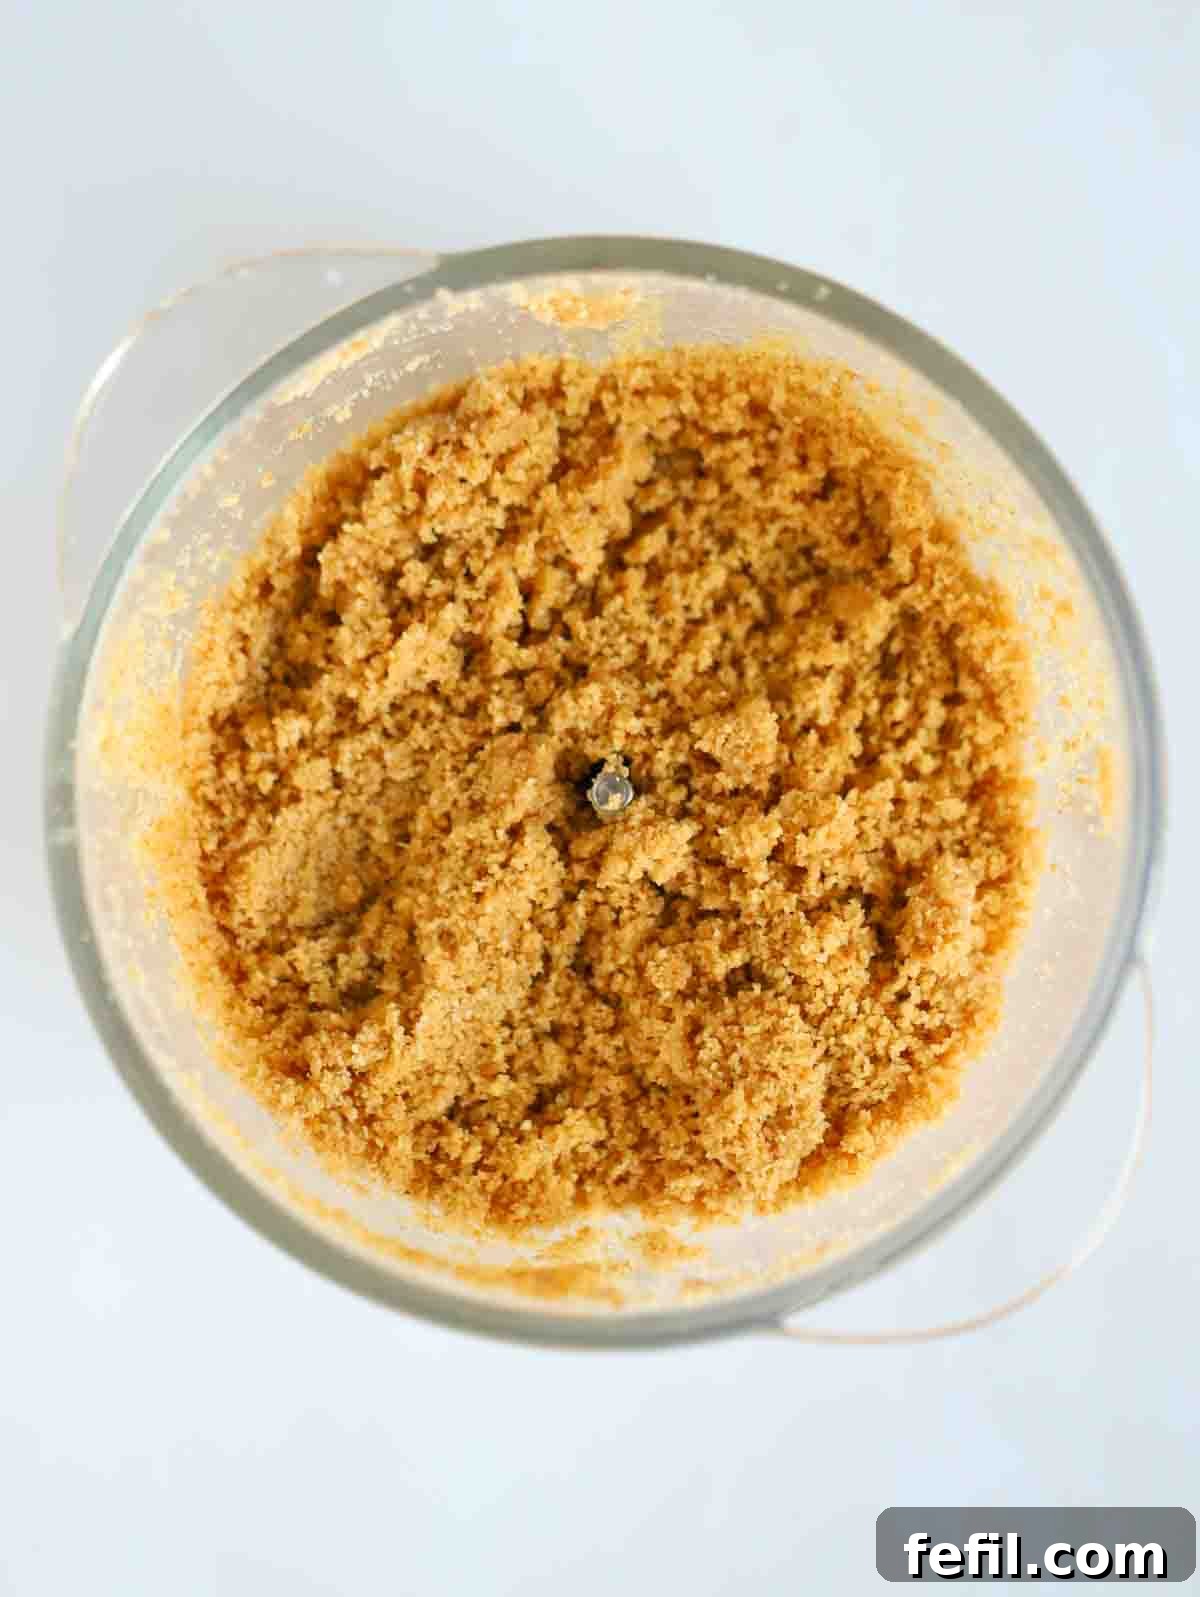
1. Prepare the Biscuit Base: Begin by crushing your digestive biscuits. You can do this quickly and efficiently using a food processor for a fine, uniform crumb, or place them in a sturdy food bag and bash them with a rolling pin for a more rustic texture. Once crushed, combine the biscuit crumbs thoroughly with the melted unsalted butter. Ensure every crumb is coated, as this helps the base set firmly.
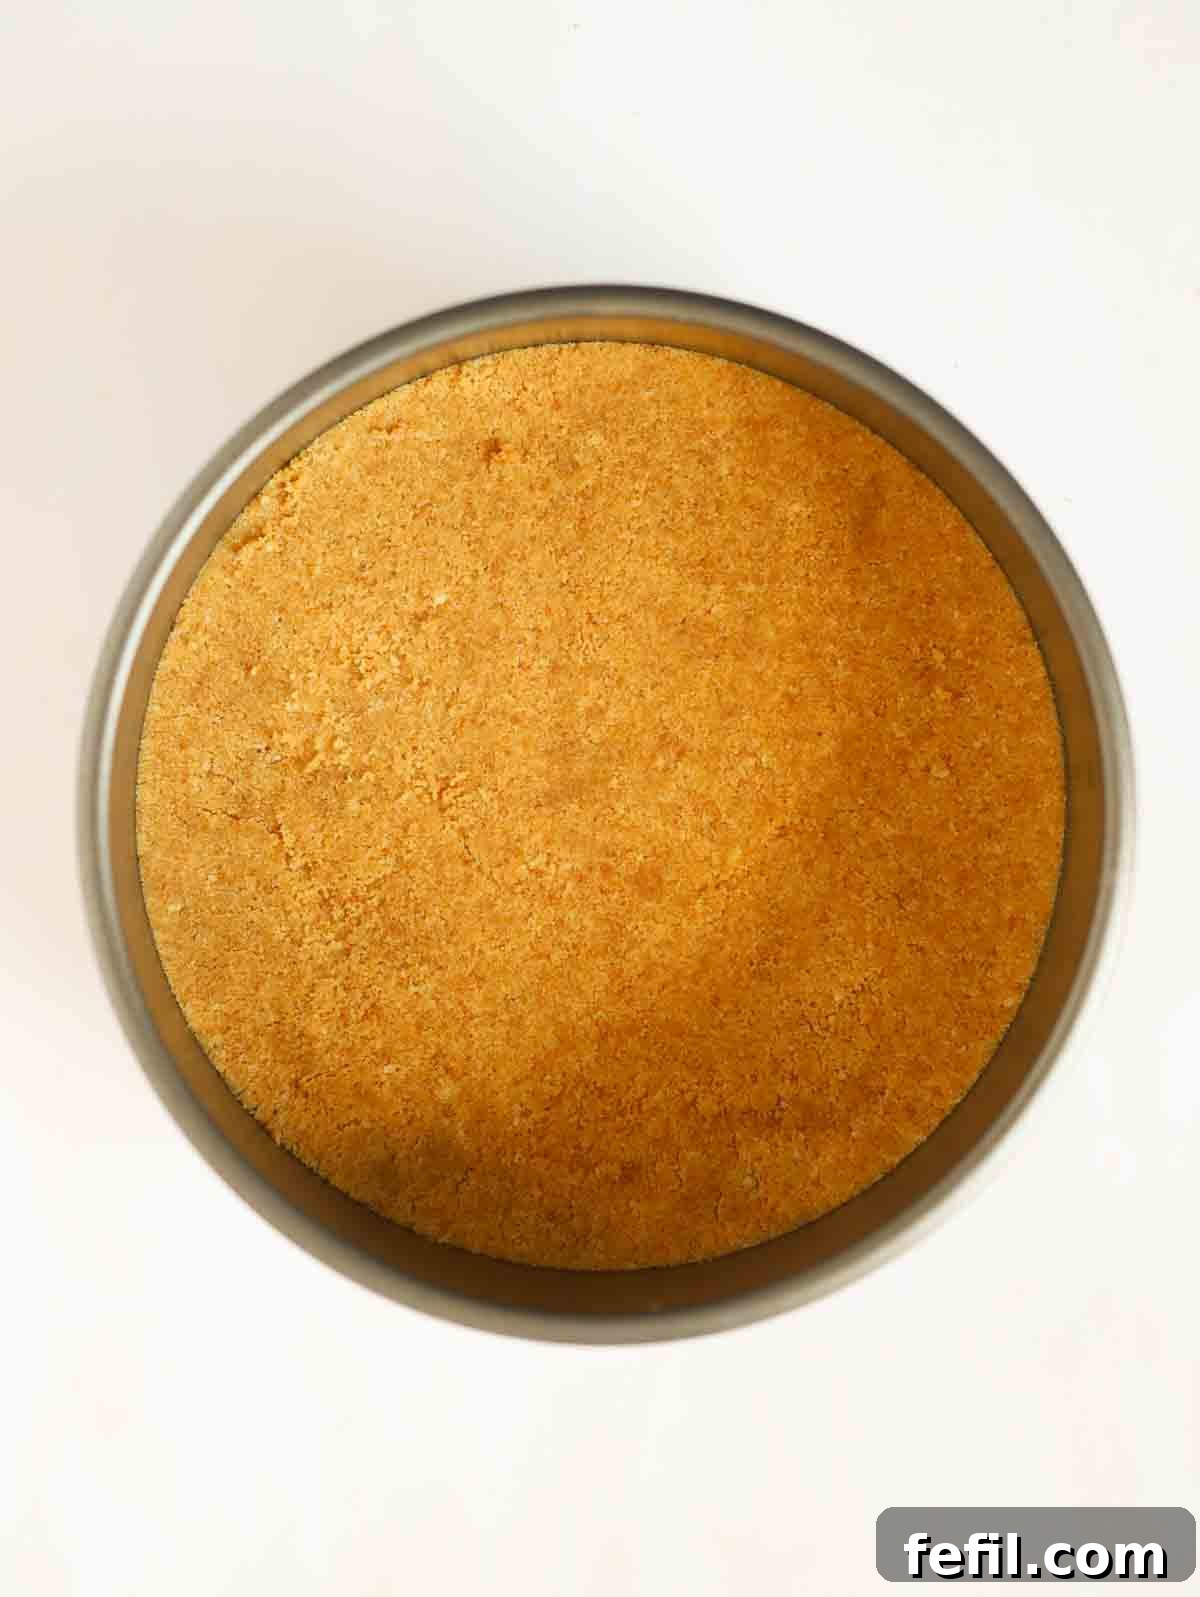
2. Form and Chill the Base: Press the buttery biscuit mixture firmly and evenly into the bottom of your chosen cheesecake tin (a 7-8 inch springform or loose-bottomed tin works best). Use the back of a spoon or your knuckles to compact it well. Transfer the tin to the fridge to chill while you prepare the filling. This initial chilling helps the base firm up, preventing it from crumbling when you add the creamy topping.
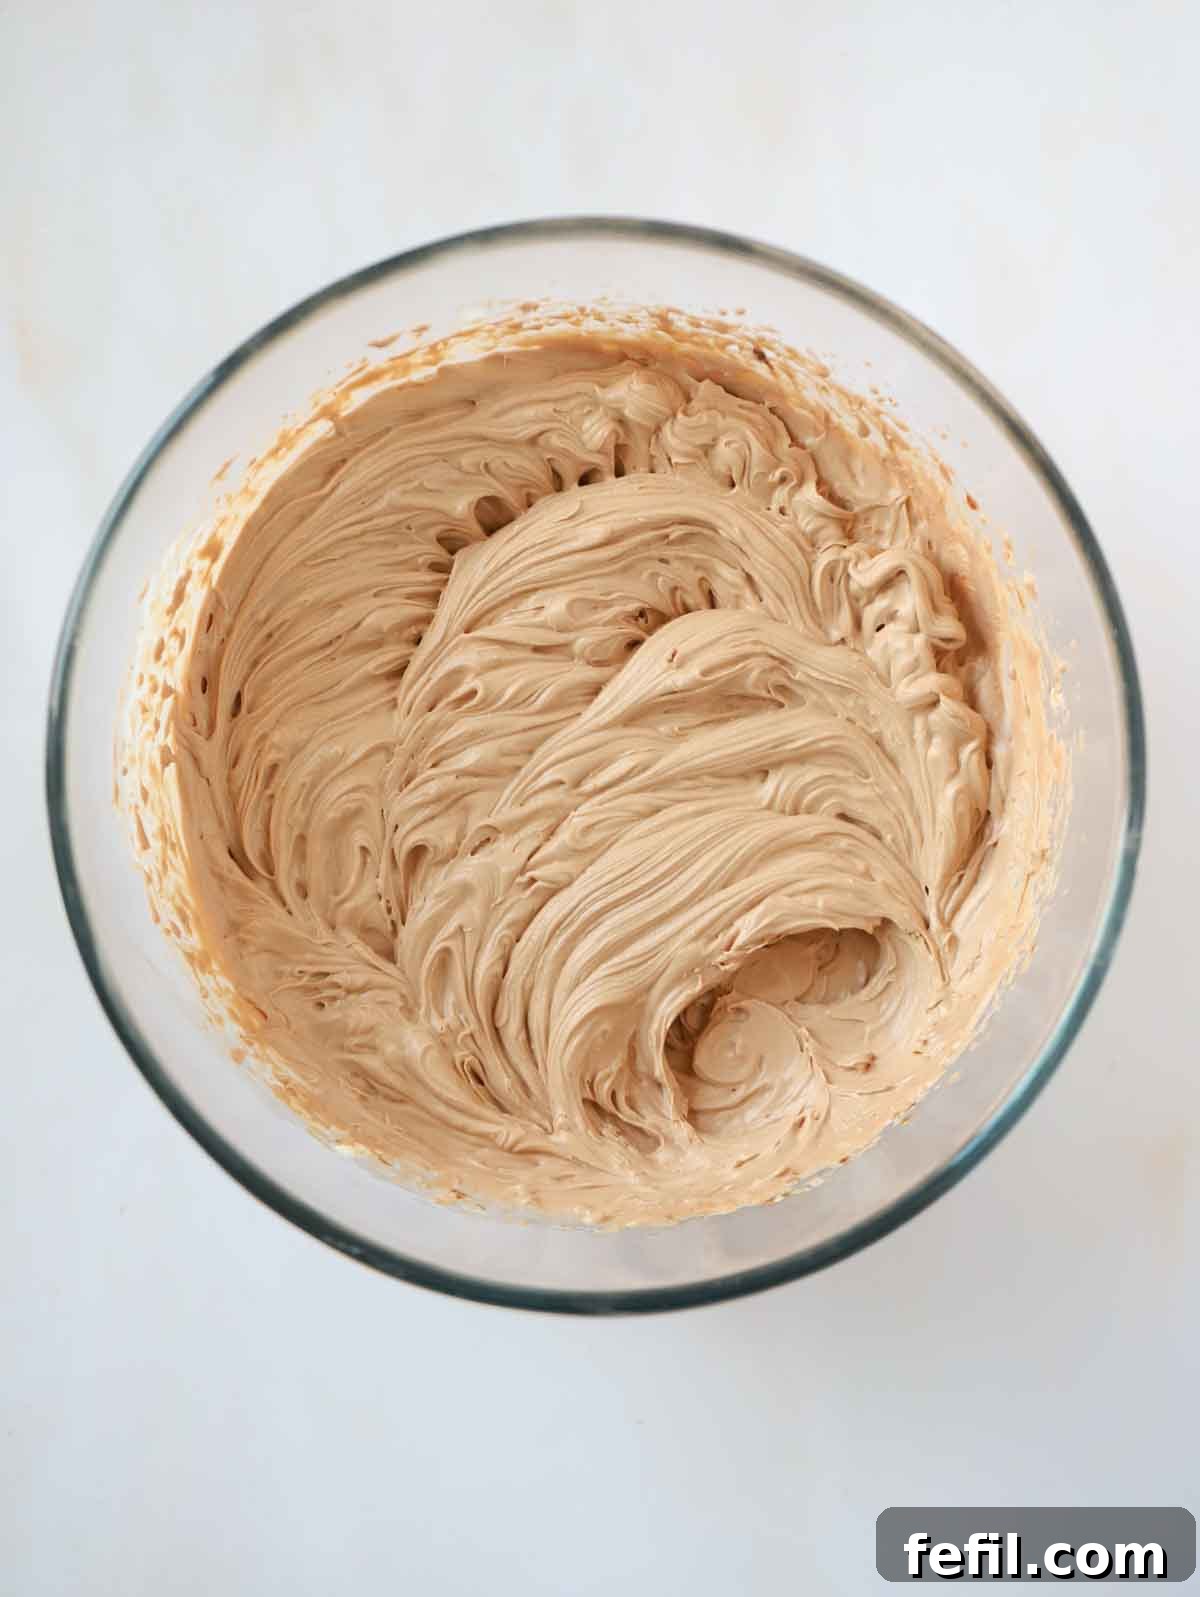
3. Prepare the Creamy Filling: In a large mixing bowl, combine the cold double cream, the softened full-fat cream cheese, and a generous portion of Nutella spread. Using an electric whisk is highly recommended for best results, though a sturdy hand whisk will also work with more effort. Whisk the mixture on medium-high speed until it thickens significantly and holds its shape – it should resemble the consistency of soft-serve ice cream. Be careful not to over-whisk, as this can cause the cream to split.
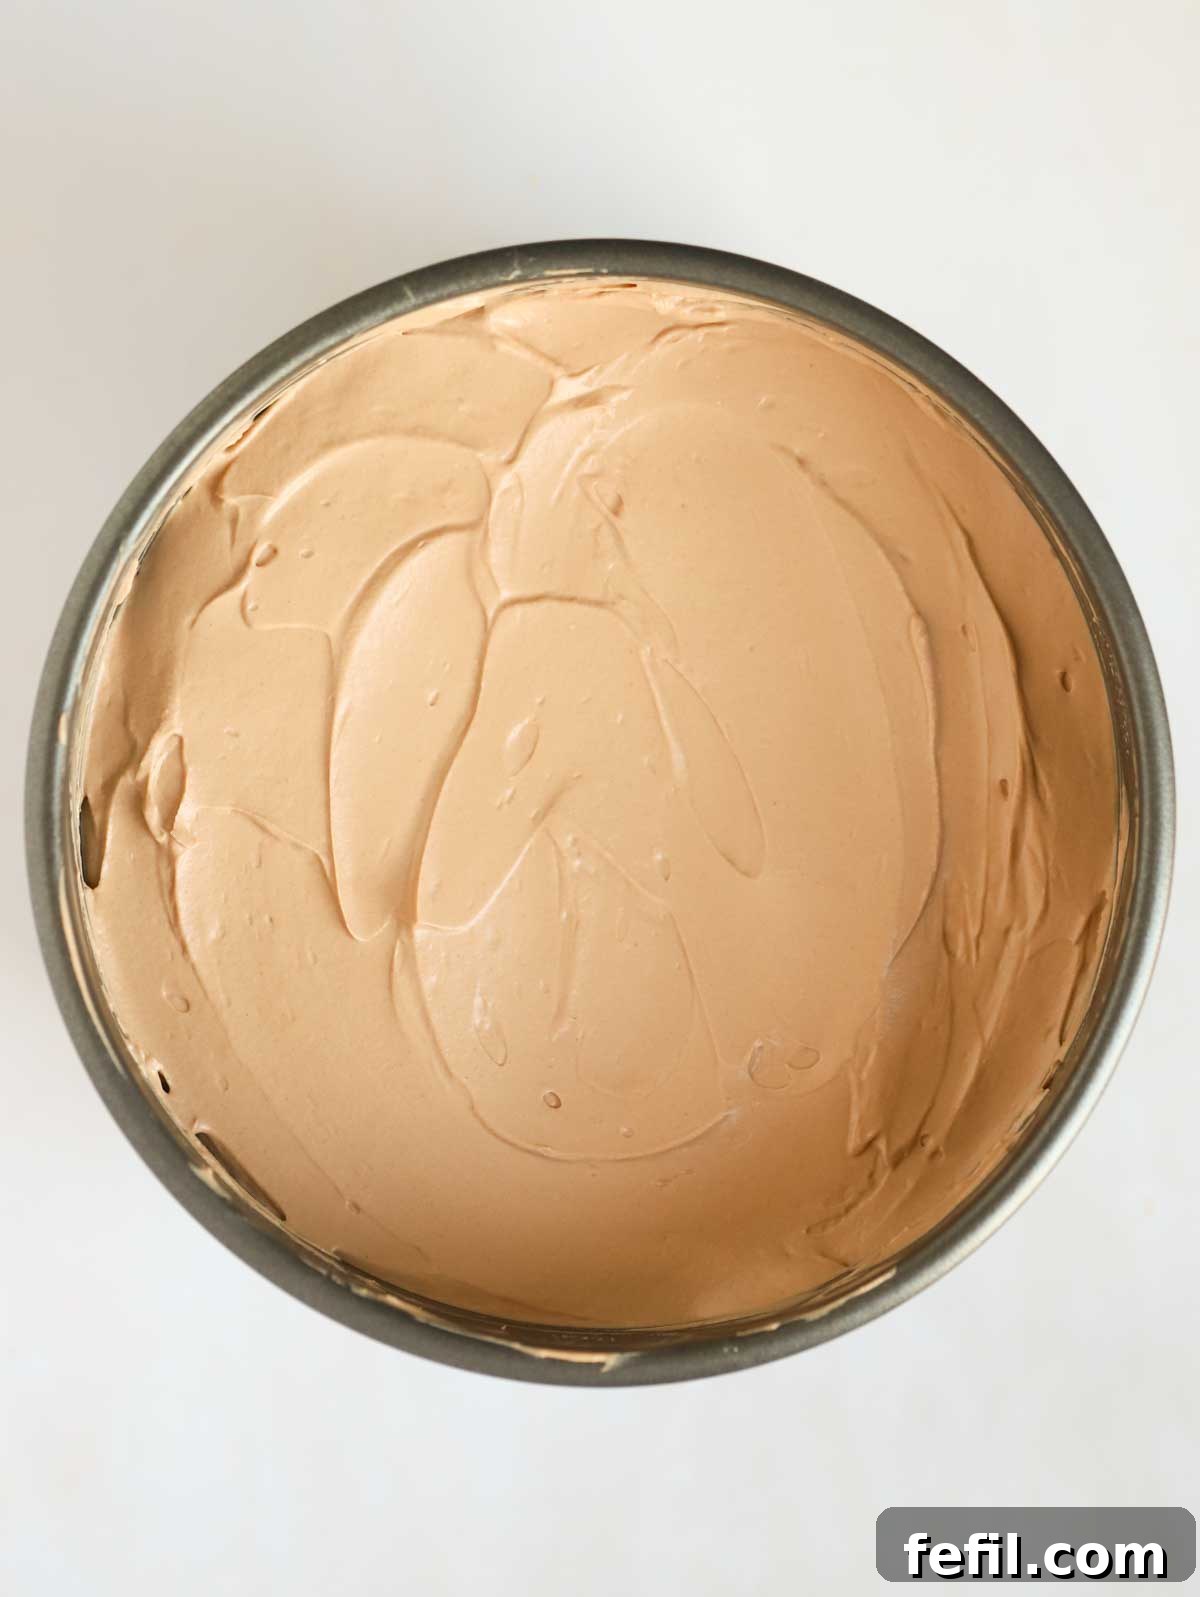
4. Assemble and Chill the Cheesecake: Retrieve your chilled biscuit base from the fridge. Carefully spoon the creamy Nutella cheesecake mixture over the biscuit base. Use the back of a spoon or an offset spatula to gently smooth the top, creating an even layer. Once assembled, return the cheesecake to the fridge for a minimum of 4 hours to set. For the best possible texture and firmness, chilling it overnight is highly recommended.
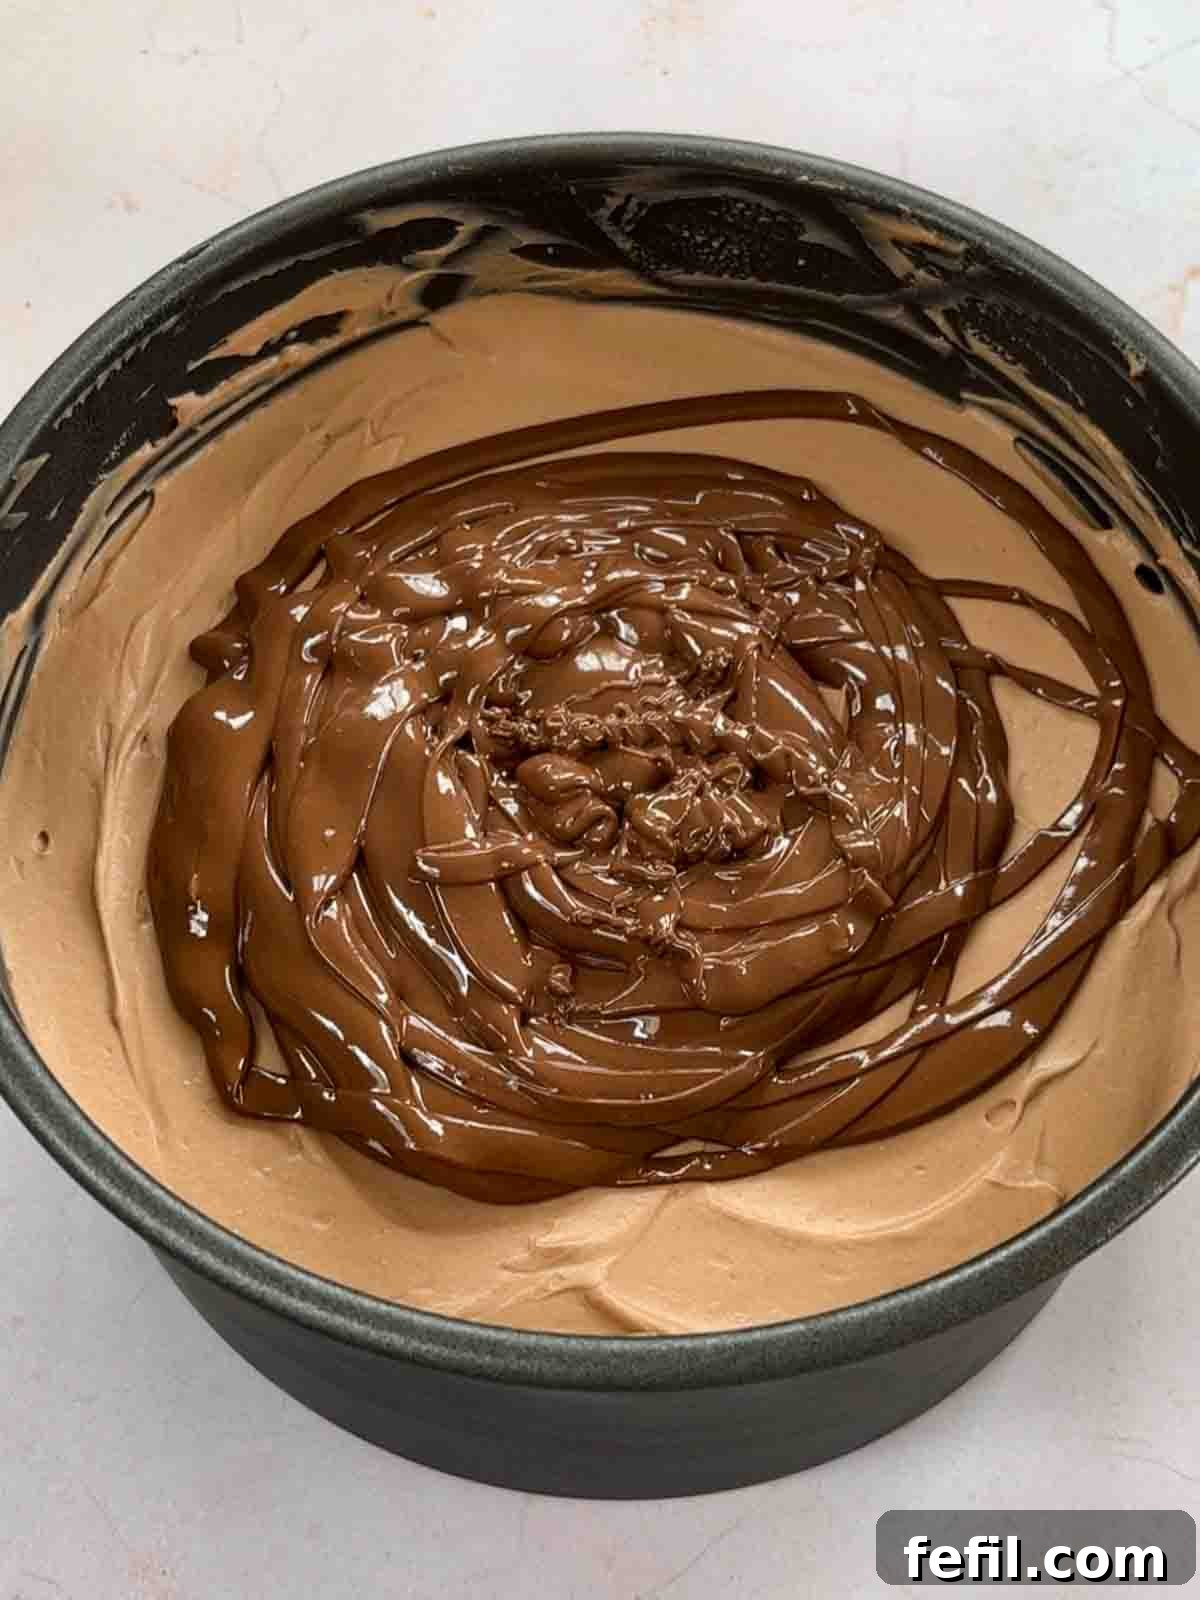
5. Add the Nutella Topping: Once your cheesecake has thoroughly chilled and set, it’s time for the glorious topping. Gently warm the remaining Nutella spread in a small pan over very low heat or in the microwave in short bursts (15-20 seconds), stirring frequently, until it’s just pourable and slightly softened, but not hot. Remove the cheesecake from the fridge and, while still in its tin, pour the warmed Nutella evenly over the set filling. Using the back of a spoon, carefully spread it to cover the entire surface without disturbing the cheesecake layer underneath.
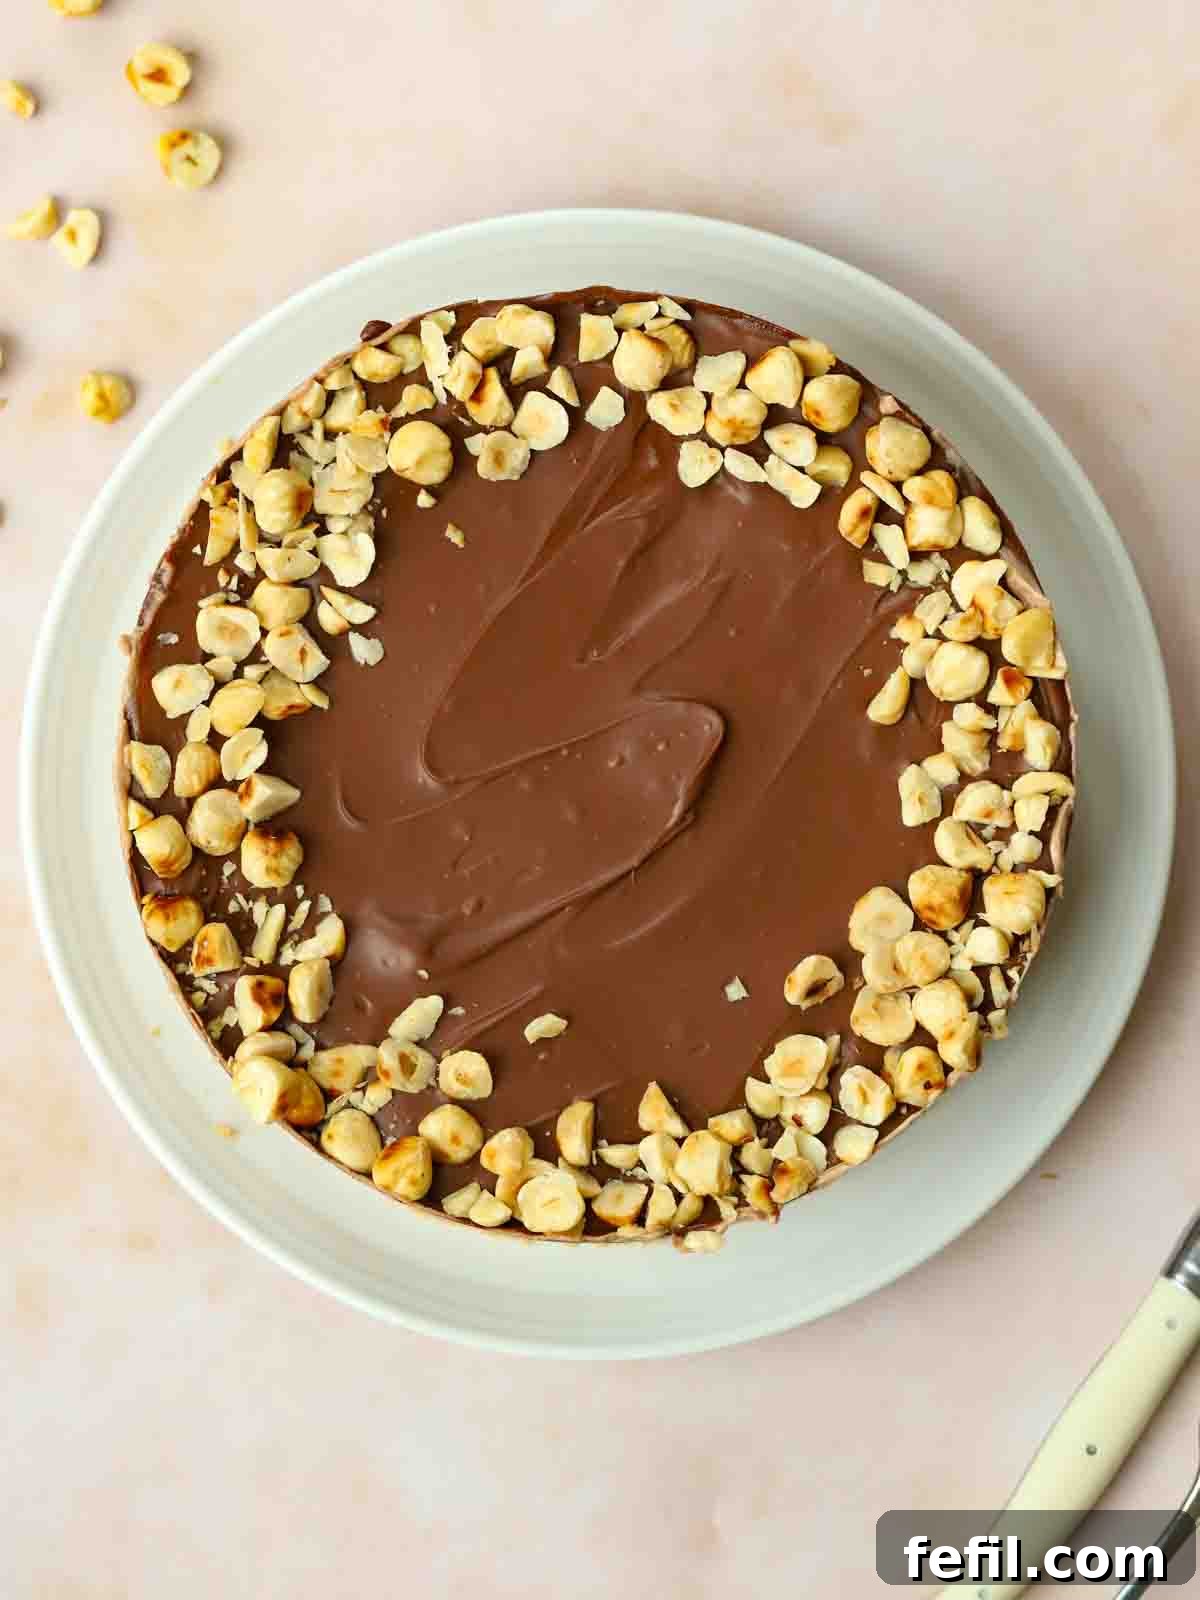
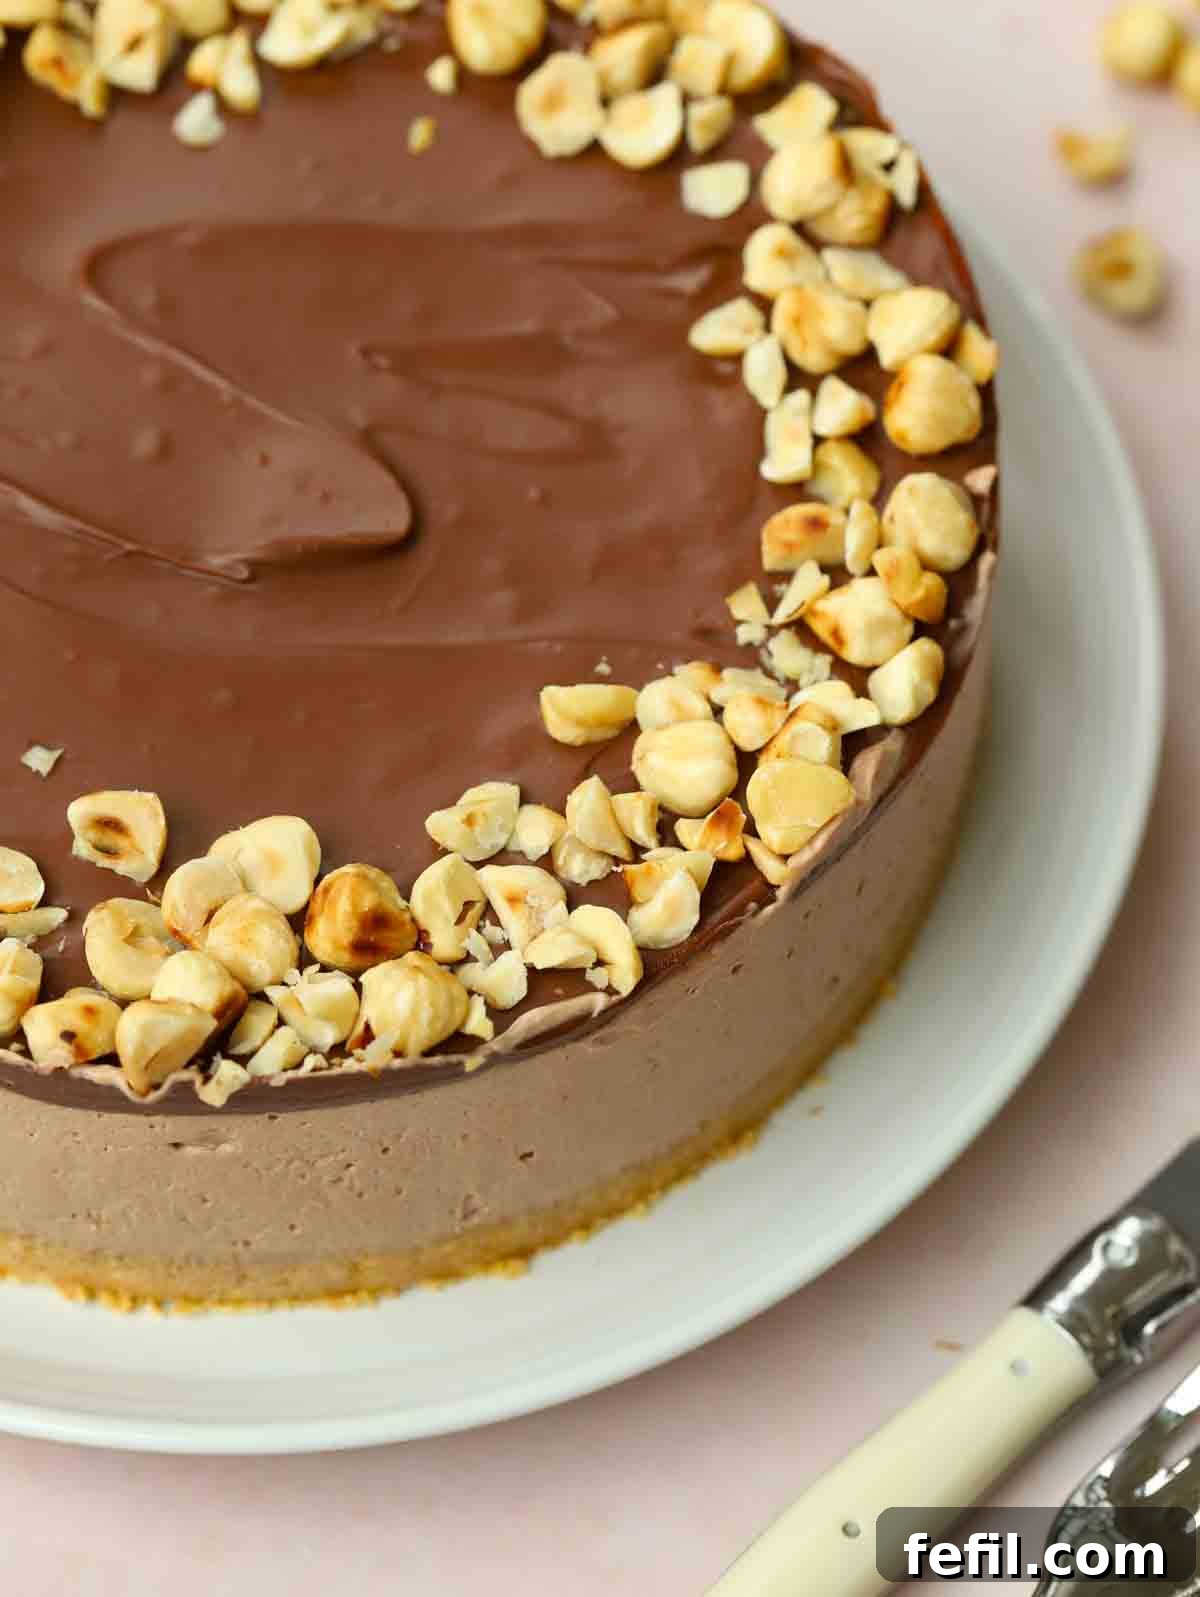
6. Garnish and Final Chill: To complete your masterpiece, sprinkle the roughly chopped hazelnuts artfully around the edge of the cheesecake, or evenly over the entire top if you prefer. The nuts add both visual appeal and a lovely crunch. Return the cheesecake to the fridge for at least another hour, allowing the Nutella topping to set and ensuring the entire dessert is perfectly firm and chilled before serving.
Storage & Freezing Tips for Your No-Bake Delight
Proper storage is key to enjoying your delicious Nutella cheesecake for as long as possible and ensures it maintains its perfect texture. Here are some essential tips:
Chilling the Biscuit Base: The initial chilling of the biscuit base, even for a short period while you prepare the filling, is a crucial step. It allows the butter to solidify and bind the crumbs together, resulting in a much firmer and less crumbly base when you slice and serve the cheesecake. Don’t skip this step!
Refrigeration: You can store the assembled cheesecake (without the final melted Nutella topping and hazelnuts) in the fridge for a minimum of 4 hours to set. However, for truly spectacular results, where the flavors meld and the texture becomes perfectly firm and creamy, it is highly recommended to chill it overnight. This extended chilling period makes a significant difference. Always leave the cheesecake in its tin while chilling and cover it loosely with a dinner plate or cling film. Be careful that the cling film doesn’t touch the surface of your beautiful cheesecake to prevent any marks or stickiness.
Can This Cheesecake Be Frozen?
Yes, absolutely! This no-bake Nutella cheesecake is an excellent candidate for freezing, making it perfect for meal prep or if you want to enjoy a slice later. You can freeze the undecorated cheesecake (before adding the melted Nutella topping and hazelnuts) directly in its tin.
- How to Freeze: Once the cheesecake has set firmly in the fridge for at least 4-6 hours (or overnight), you can transfer the entire tin to the freezer. For long-term storage, wrap the tin tightly in several layers of plastic wrap, followed by a layer of aluminum foil, to protect it from freezer burn. It can be stored in the freezer for up to 1-2 months.
- How to Thaw: When you’re ready to enjoy it, transfer the frozen cheesecake (still in its tin) to the fridge and allow it to defrost slowly. This process typically takes about 12-24 hours, depending on the size of your cheesecake. Ensure it is completely thawed before decorating and serving.
- Decorating After Thawing: Once thawed, you can proceed with warming the Nutella for the topping and sprinkling the crushed hazelnuts as per the recipe instructions. This ensures the topping is fresh and perfectly set for serving.
Freezing allows you to prepare this delicious dessert well in advance, reducing stress for entertaining or ensuring you always have a delightful treat on hand.
Discover More Irresistible No-Bake Cheesecakes
Cheesecakes
White Chocolate Cheesecake {NO BAKE Recipe}
Cheesecakes
Biscoff Cheesecake
Cheesecakes
Chocolate Orange Cheesecake {No Bake Recipe}
Cheesecakes
Dubai Chocolate Cheesecake
Expert Tips for No-Bake Nutella Cheesecake Success
Achieving a perfectly set, deliciously creamy no-bake cheesecake is easy with a few insider tricks. Pay attention to these tips for the best possible outcome:
Whip the Cream Straight from the Fridge
This might seem like a small detail, but it’s incredibly important. Cream, especially double cream or heavy cream, whips best when it’s very cold. Cold cream forms stiff peaks more quickly and holds its structure better, which is vital for the stability of your no-bake cheesecake filling. Room temperature cream will take longer to whip and may not achieve the desired consistency, leading to a runny cheesecake.
The Perfect Whipping Consistency for Your Filling
When whisking the double cream, cream cheese, and Nutella, you’re aiming for a consistency that is thick enough to hold its shape firmly, similar to soft-serve ice cream or a very stiff mousse. When you lift your whisk, the mixture should form peaks that don’t immediately collapse. A slight wobble is acceptable, but it should be dense enough to be sliceable once chilled.
However, be cautious not to over-whip it! Over-whipping can cause the cream to separate and become grainy, or even split into butter and buttermilk, which will ruin the smooth texture of your cheesecake. Stop whisking as soon as it reaches the desired thickness. An electric whisk is highly recommended for achieving this consistency efficiently and evenly, but a strong arm and a good hand whisk will also work with patience.
Melting the Nutella and Topping the Cheesecake
The key to a beautiful, unmarred Nutella topping is to ensure the cheesecake is fully set and cold before applying. Set your cheesecake in the fridge for at least 4 hours (or preferably overnight) before you even think about the topping.
When melting the Nutella for the topping, do so very gently. You want it to be just warm enough to be pourable, not hot. Heating Nutella too much can cause it to become oily and may melt the delicate cheesecake filling underneath. Use a pan on the lowest heat setting, stirring constantly, or microwave it in short 15-20 second bursts, stirring well after each interval, until it just softens. Pour this gently over the cold cheesecake while it’s still in the tin. Smooth it out carefully with the back of a spoon, taking care not to touch or drag the cheesecake filling. For the best presentation and to ensure the topping sets nicely, pop the cheesecake back into the fridge for at least another hour after topping.
Successfully Removing the Cheesecake from the Tin
The secret to effortlessly releasing your beautiful cheesecake without damaging its sides lies in using the right equipment and a simple technique. A springform tin (one with sides that unclip) or a loose-bottomed tin is absolutely essential for this recipe. My personal favorites are Masterclass 7″ Removable Base tins, which I’ve relied on for years.
- ➡️ Warm Knife Trick: Before attempting to remove the cheesecake, warm a thin dinner knife under hot running tap water, then quickly dry it.
- ➡️ Clean Release: Carefully run the warm, dry knife around the inside edge of the tin, between the cheesecake and the tin walls. This slight warmth helps to melt any butter or Nutella that might be sticking to the sides, creating a clean release. Wipe the knife clean and re-warm it as you work your way around the entire cake.
- ➡️ Springform/Loose-Bottom Release: If you have a removable base tin, place the tin on top of a tall glass or a sturdy can. Gently push down on the sides of the tin, allowing them to slip down lower than the cheesecake, which will remain resting on the elevated base. This allows for easy and flawless removal, preserving the cheesecake’s perfect shape.
With these tips, your no-bake Nutella cheesecake will not only taste incredible but also look professionally made!
Frequently Asked Questions About No-Bake Cheesecakes
Here are some common questions and helpful answers regarding no-bake cheesecakes, particularly our delightful Nutella version:
Yes, they are! The “cheese” in cheesecake refers to cream cheese, which is a soft, fresh cheese. However, don’t let that deter you if you’re not a fan of savory cheeses. Cream cheese, especially when combined with sugar and other ingredients, takes on a wonderfully rich, tangy, and creamy flavor that is utterly delicious in sweet desserts. It provides that unique texture and slight tang that sets cheesecake apart from other desserts.
If your cheesecake seems too runny or hasn’t firmed up as expected, it’s most likely because your cream wasn’t whipped quite enough to reach that firm, ice-cream-like consistency, or it didn’t chill for a sufficient amount of time. Don’t panic! You have a few options:
- More Chilling Time: First, try returning it to the fridge for a much longer chilling period, ideally overnight. Extended time often works wonders.
- Freezer Fix: If it’s still too soft and you need to serve it soon, pop it into the freezer for 2-3 hours before serving. This will help it firm up considerably, making it sliceable.
This issue can also occur if the weather is extremely hot, as warmer ambient temperatures can make it harder for the ingredients to set. Always ensure your cream and cream cheese are very cold when starting.
For the best results and a fine, even crumb that creates a stable base, I highly recommend using a food processor. Simply pulse the biscuits until they reach a sandy texture. This method is quick and yields consistent results. If you don’t have a food processor, no problem!
- By Hand: Place the digestive biscuits into a sturdy, sealable freezer bag. Use a rolling pin, the bottom of a heavy pan, or even a meat tenderizer to bash the biscuits until they are reduced to fine crumbs. This method can be quite therapeutic! Just ensure there are no large chunks left, as they can make the base crumbly.
It is strongly recommended to use full-fat cream cheese and double cream (or heavy cream). Low-fat products contain a higher water content and less fat, which are crucial for the cheesecake to set properly and achieve its rich, creamy texture. Substituting with low-fat alternatives will likely result in a runny cheesecake that won’t hold its shape.
No worries! While digestive biscuits are traditional, you can easily substitute them. In the US, Graham crackers are an excellent equivalent and work beautifully for the base. Other alternatives include shortbread biscuits, hobnobs, or even vanilla wafers. Just make sure to crush them finely and combine with melted butter as directed.
I genuinely hope you enjoyed making and tasting this amazing No-Bake Nutella Cheesecake! Please let me know how it went for you and what you thought of the recipe. Your feedback is incredibly valuable. If you loved it, please take a moment to rate the recipe using the ⭐️ below.
Also, I’d LOVE to see your delicious cooking creations! If you’d like to share yours with me, you can tag me on Instagram (@tamingtwins). Happy dessert making!
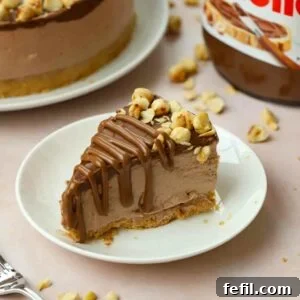
No-Bake Nutella Cheesecake (6 Ingredients!)
By Sarah Rossi
This is the ultimate No-Bake Nutella Cheesecake. It’s incredibly easy and utterly delicious. This chocolate and hazelnut creamy showstopper dessert is a must-make for Nutella fans.
Prep Time: 15 minutes
Total Time: 15 minutes (plus chilling time)
Servings: 12 People
Ingredients
For the Base:
- 200 g (7 oz) Digestive biscuits, Crushed
- 80 g (3 oz) Unsalted butter, Melted
For the Cheesecake Mixture:
- 300 ml (1.25 cups) Double cream (or heavy cream)
- 400 g (14 oz) Full-fat cream cheese, softened
- 200 g (7 oz) Nutella spread
For the Topping:
- 150 g (5 oz) Nutella, Gently warmed
- 50 g (2 oz) Hazelnuts, Roughly chopped
Instructions
- Combine the crushed digestive biscuits with the melted butter and press firmly into a 7-8 inch springform or loose-bottomed tin to form the base. Chill in the fridge while you prepare the filling.
- In a large bowl, pour the cold double cream, add the softened full-fat cream cheese, and 200g of Nutella.
- Whisk the mixture using an electric whisk (or by hand) until it becomes very thick and holds its shape, similar to the consistency of firm soft-serve ice cream. Be careful not to over-whisk.
- Remove the chilled biscuit base from the fridge and carefully spoon the cheesecake mixture over it, smoothing the top evenly with a spoon or spatula.
- Return the cheesecake to the fridge for at least 4 hours to set. For the best results and a firmer cheesecake, chilling overnight is highly recommended.
- When the cheesecake is thoroughly chilled and set, gently warm the remaining 150g of Nutella in a small pan over very low heat or in short bursts in the microwave until just pourable (do not let it get hot).
- Remove the cheesecake from the fridge and, while still in the tin, pour the melted Nutella over the top. Gently smooth it out with the back of a spoon until the top is completely covered, taking care not to disturb the cheesecake mixture.
- Sprinkle the roughly chopped hazelnuts around the edge of the cheesecake (or all over the top).
- Return the cheesecake to the fridge for at least a further 1 hour to allow the topping to set before carefully removing it from the tin and serving.
Did you make this recipe? We’d love to hear how it went! Share your experience and give it a ⭐️ rating to help us create more recipes you’ll love.
Recipe Notes
- Removing the cheesecake from the tin: For easy removal, use a warm knife to run around the outside edge of the tin. If using a loose-bottomed tin, place it on a tall glass and carefully push the sides down.
- Digestive biscuits: If you are in the US, Graham Crackers are an excellent substitute for digestive biscuits.
- Butter: Use unsalted butter for better flavor control; melt it quickly in a mug in the microwave.
- Cream cheese: Always use full-fat cream cheese and ensure it’s at room temperature for a smooth mixture. Drain any excess liquid if present.
- Cream: Whip the double cream (or heavy cream) straight from the fridge until it holds stiff peaks, but avoid over-whipping.
- To make gluten-free: Simply use gluten-free digestive biscuits (or Graham crackers) and always check labels of all ingredients to ensure they are certified gluten-free.
Nutrition Information (Approximate per serving)
Calories: 505 kcal
Carbohydrates: 34 g
Protein: 6 g
Fat: 39 g
Saturated Fat: 25 g
Polyunsaturated Fat: 2 g
Monounsaturated Fat: 9 g
Trans Fat: 0.2 g
Cholesterol: 76 mg
Sodium: 210 mg
Potassium: 245 mg
Fiber: 3 g
Sugar: 22 g
Vitamin A: 986 IU
Vitamin C: 0.4 mg
Calcium: 100 mg
Iron: 2 mg
Nutrition information is automatically calculated, so should only be used as an approximation. Nutritional values are per portion unless otherwise stated.
Additional Info
Course: Dessert
Cuisine: Family Food
Like this? Leave a comment and rating below!
Mention @myusername or tag #myhashtag!