
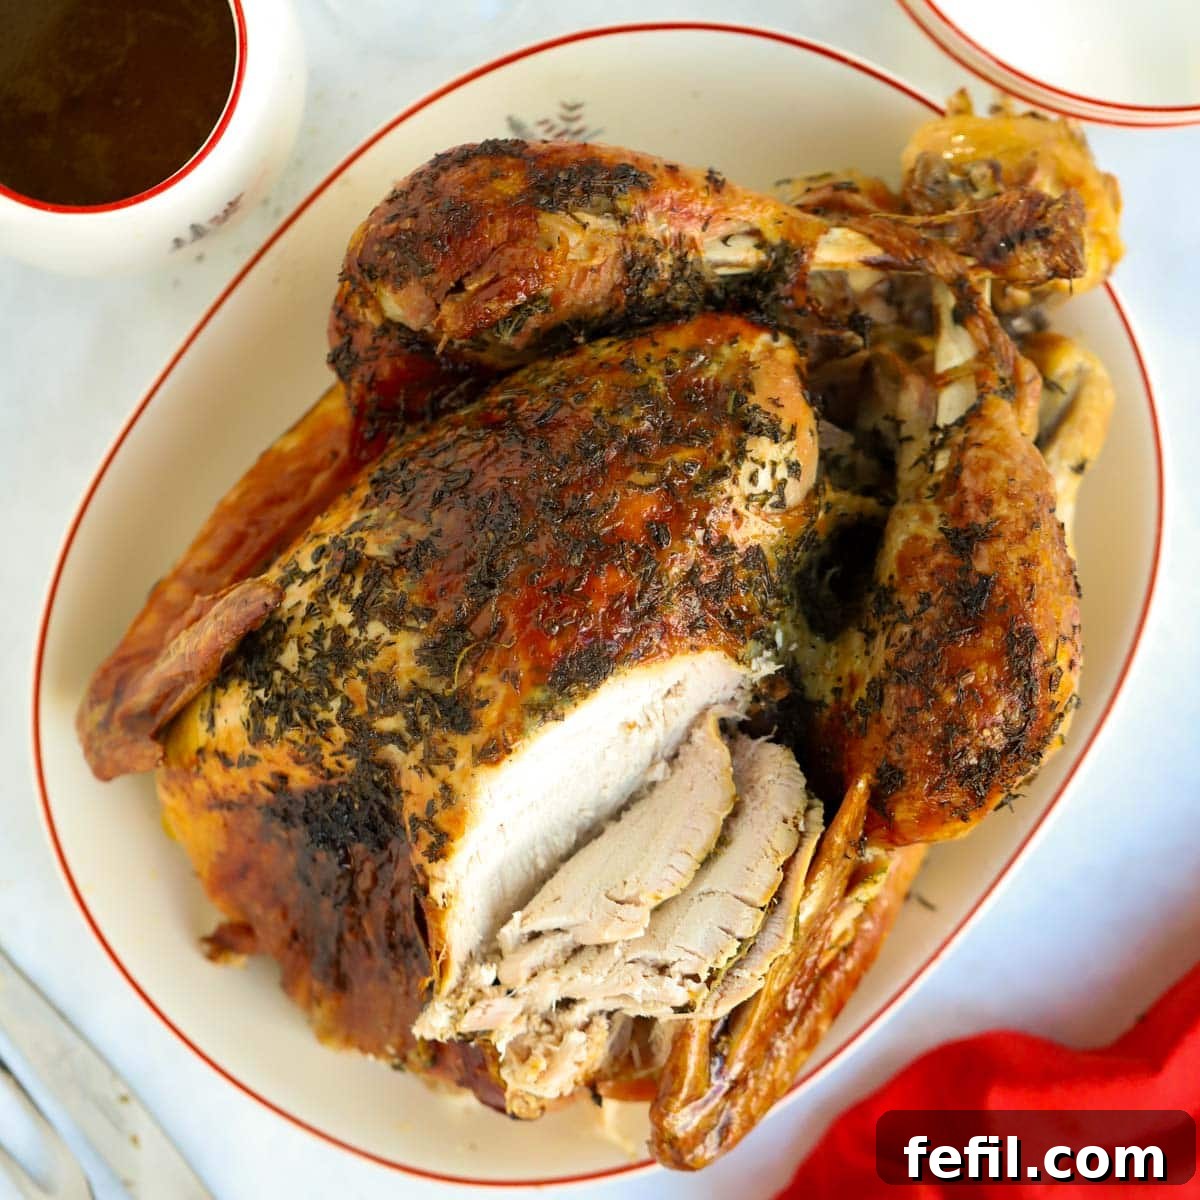
Roast Turkey: Your Ultimate Guide to a Stress-Free, Delicious Christmas Dinner
The classic Christmas turkey is the undisputed star of the holiday feast. If the idea of roasting a large bird for the big day feels overwhelming, put your worries aside! This comprehensive guide provides everything you need to cook a magnificent, juicy turkey with absolute ease.
Consider this your ultimate, no-fuss manual for preparing a perfect Christmas turkey. I’ll walk you through each step, demonstrating that holiday cooking doesn’t have to be stressful. Get ahead of the game – put on some festive tunes and truly enjoy your special day. We’ve got this!
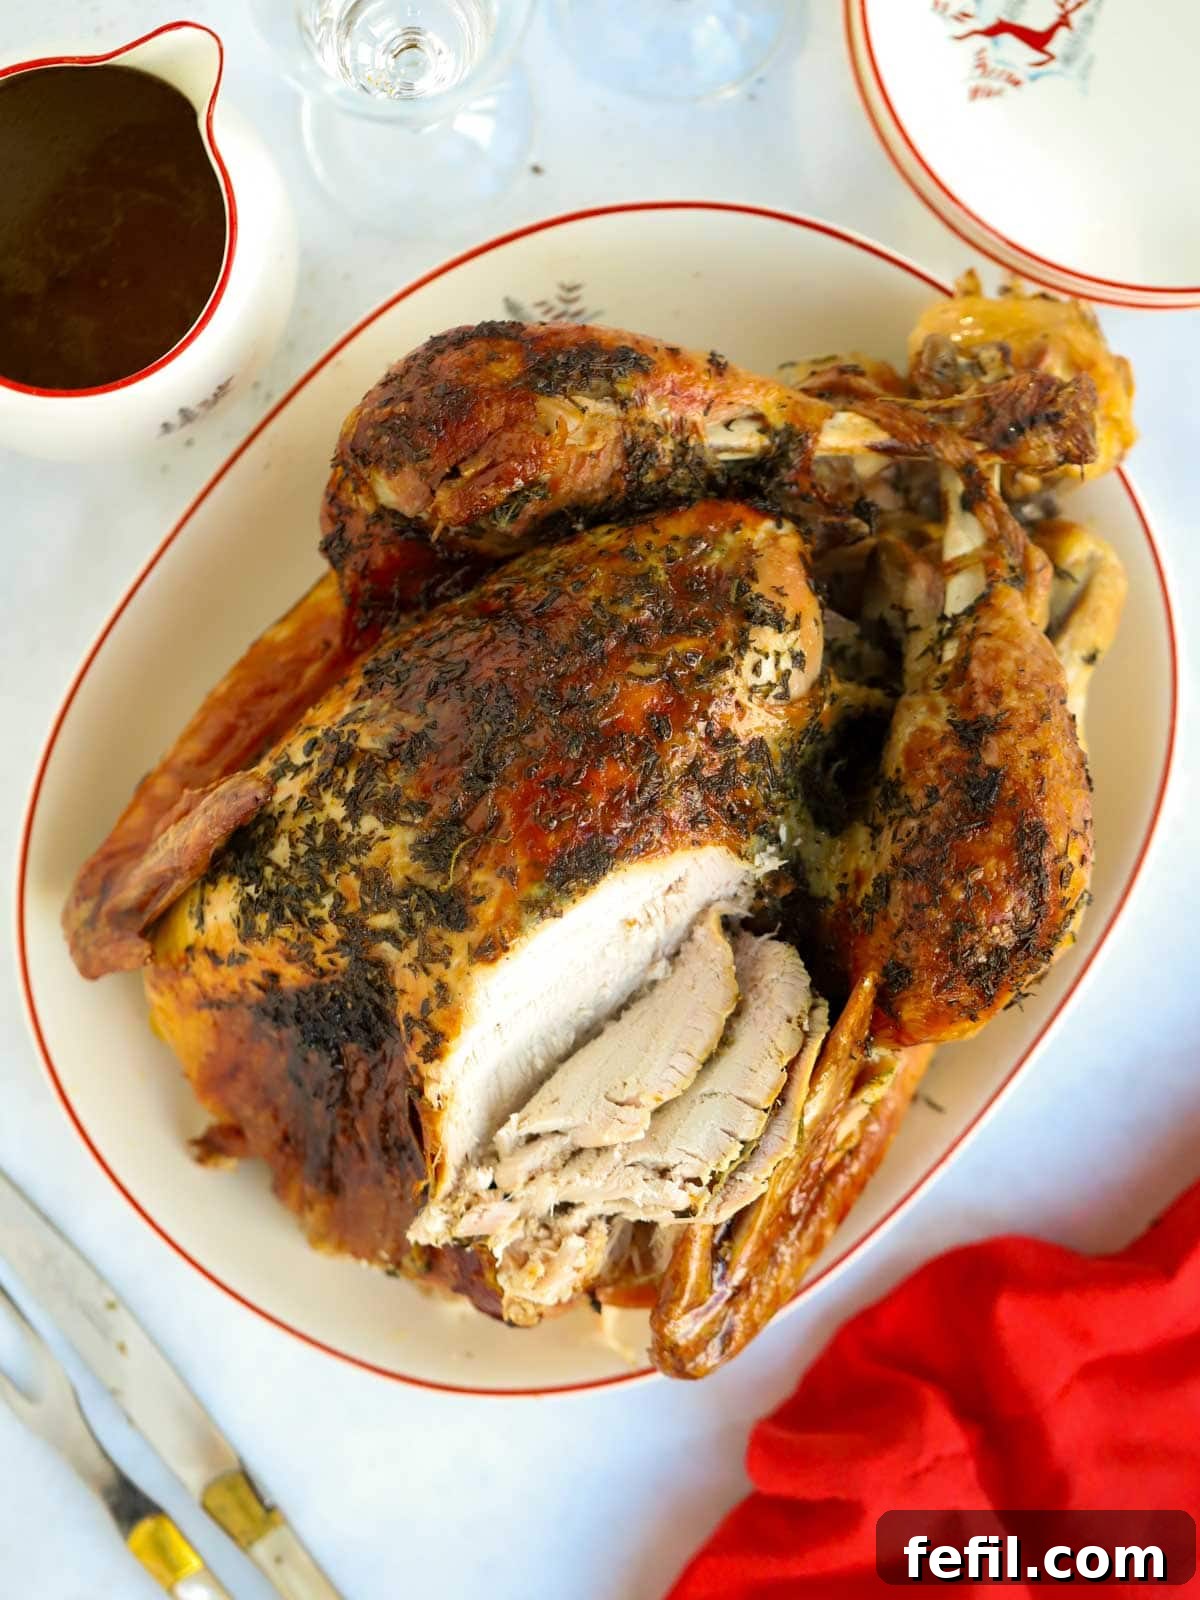
Hosting Christmas dinner often comes with a significant amount of pressure. The expectation of everything being just right can feel daunting, especially when it comes to the main event.
Then there’s the challenge of **how to cook a Christmas turkey** – a large, impressive bird known for its tendency to dry out, and one most of us only cook once a year. The stakes feel high, don’t they?
Well, I’m here to assure you that a **succulent, perfectly roasted turkey does NOT have to be complicated** or stress-inducing. You can achieve a truly delicious bird that’s cooked on time and thoroughly, every single time!
This is your definitive guide to serving up a **roast turkey with zero fuss**. This post covers every detail, from essential preparation steps and patting the bird dry, to infusing flavor with butter and mastering the art of basting.
If you take away just two key pieces of advice from this guide, let them be these:
- Prepare a rich, flavored butter and generously spread it under the turkey’s skin. This simple technique is the secret to a wonderfully moist and tender turkey, ensuring no dry meat makes it to your Christmas dinner table.
- Invest in a reliable meat thermometer. This tool eliminates all guesswork from cooking times and drastically reduces the risk of overcooking, guaranteeing your turkey reaches perfect doneness.
Why This Christmas Turkey Recipe Will Become Your Go-To
- ⭐️ **Effortless & Simple:** No unnecessary complexities, no elaborate techniques, just pure, straightforward success.
- ⭐️ **Incredibly Delicious:** Expect a wonderfully juicy, tender, and flavour-packed turkey that will impress everyone.
- ⭐️ **The Taste of Christmas:** This recipe delivers that unmistakable, heartwarming flavour that defines the holiday season!
“I followed this method for a Turkey crown and the result was fantastic. The most delicious and succulent Turkey we have ever eaten. Thank you Sarah! This will definitely be my ‘go to’ method for cooking Turkey in future.”
– Kate
A Simple Guide to Perfecting Your Holiday Turkey
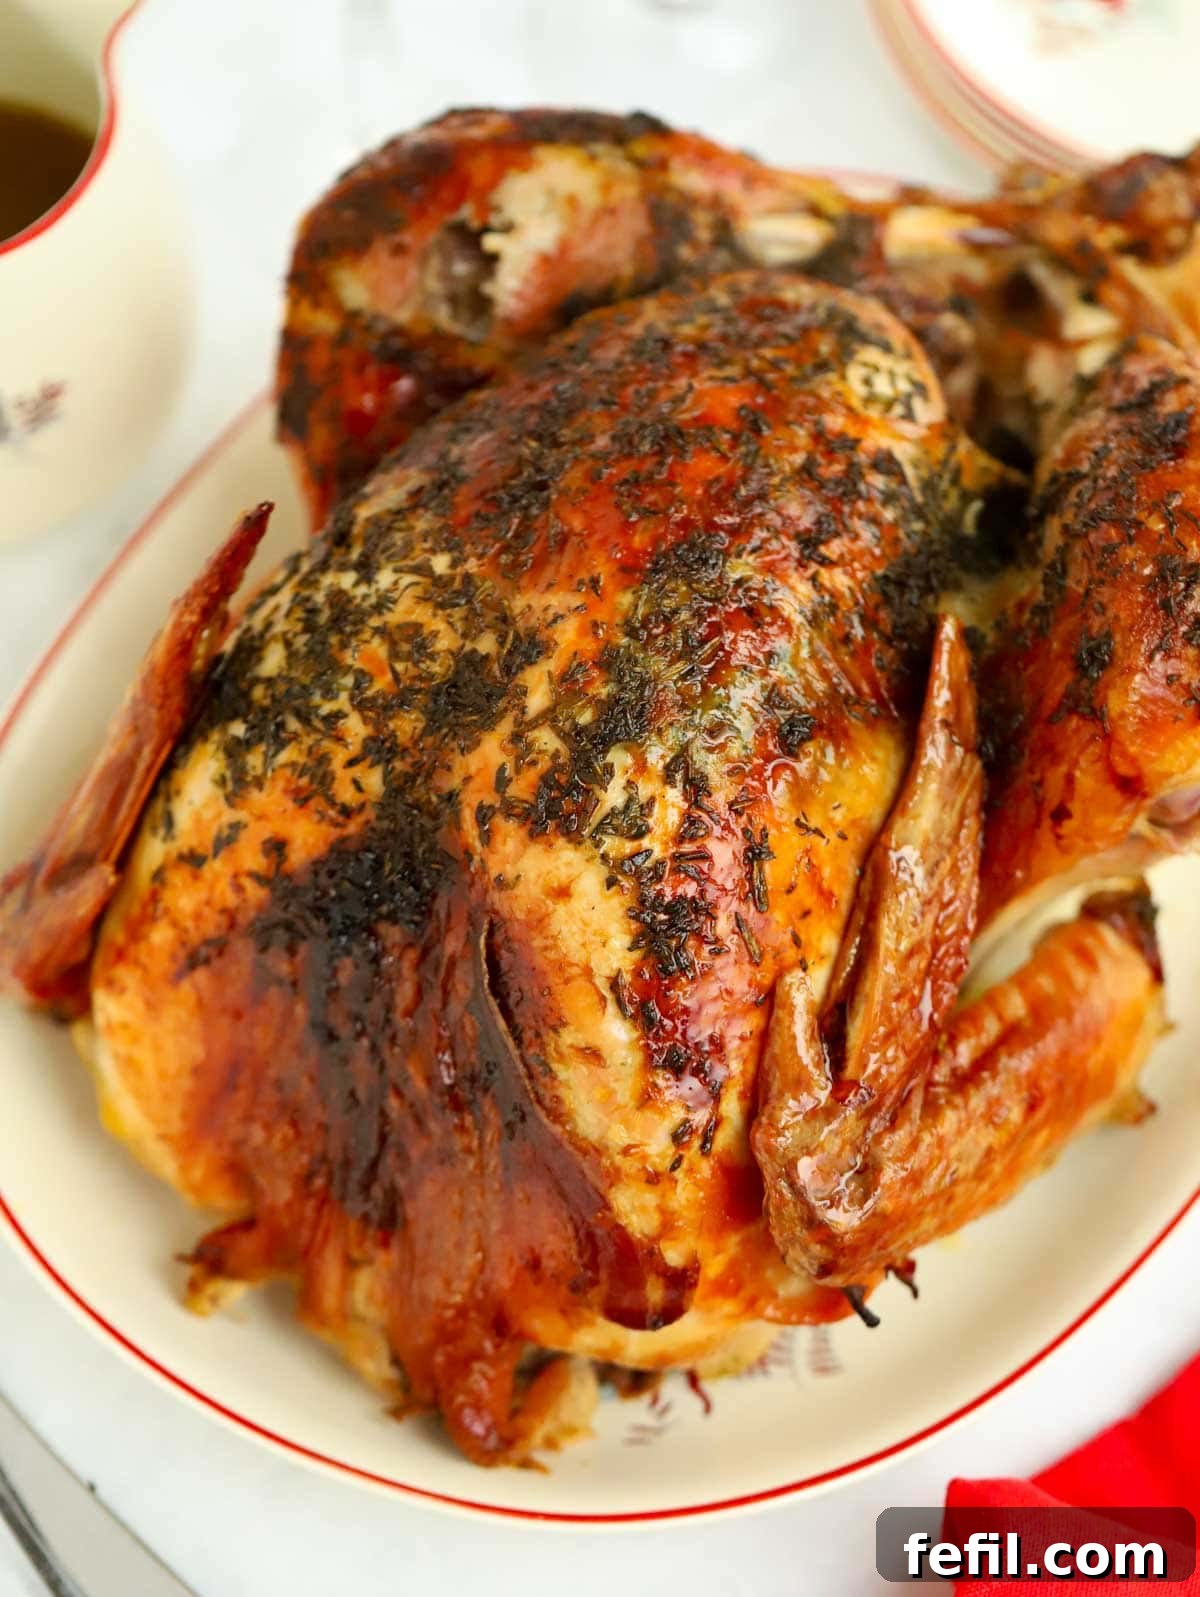
Whole Bird or Turkey Crown? Making the Right Choice
Whether you opt for a whole turkey or a turkey crown, the fundamental cooking principles remain largely the same. Your choice typically depends on factors like the number of guests, oven space, and personal preference for white or dark meat. We’ll delve deeper into the pros and cons of each type later in this guide, but rest assured, this cooking method works beautifully for both.
The Secret to Succulence: Flavored Herb Butter
This is arguably the most crucial step for avoiding a **dry turkey**. While many elaborate methods exist to keep turkey moist, our approach is simple and highly effective. A homemade **compound butter**, infused with aromatic herbs and citrus zest, and generously applied under the turkey’s skin before cooking, creates an incredible barrier that locks in moisture and infuses every bite with exquisite flavour. Forget complicated brines; this butter is all you need for tender, juicy meat.
The Bacon Advantage: Adding Flavor and Protection
Beyond the herb butter, streaky bacon rashers are my only recommended addition for ensuring your roast turkey remains **wonderfully juicy** and bursts with extra flavour. The bacon fat renders into the skin, contributing to a golden-brown finish while protecting the delicate breast meat from drying out. By the time your turkey is perfectly cooked, the bacon will be deliciously crispy. While some prefer to discard it, we always crumble it over the carved meat for an extra layer of savory crunch!
Choosing the Right Turkey Size for Your Guest List
Understanding **what size turkey to buy** is essential. It ensures you have enough to feed all your guests generously without leaving anyone short, and helps manage leftovers effectively (though who can ever have too many turkey leftovers?). Knowing the weight of your turkey is also critical for calculating the correct cooking time, as different sizes require varying durations in the oven. We’ll provide detailed sizing and timing guidelines further down to help you plan your feast.
Mastering Temperature: Your Key to Perfectly Cooked Turkey
Precise temperature control is vital for a perfectly cooked turkey—one that’s neither undercooked nor dry. I typically roast turkey at 180℃ (fan), but the most reliable way to ensure ideal doneness is to use a **meat thermometer**. This removes all guesswork, allowing you to confidently monitor the internal temperature without constantly opening the oven. It’s truly the best investment for any serious cook.
I highly recommend this Thermapen thermometer. I’ve tried many different models over the years, and while this isn’t the cheapest, it’s the only one that has consistently proven reliable and durable.
The Art of Basting: For a Golden and Moist Result
Basting simply means spooning the accumulating pan juices and rendered fat over the turkey’s surface during cooking. Doing this every hour or so, or whenever you pass the oven, helps to **prevent the skin from drying out** and promotes that beautiful golden-brown colour. Do keep in mind that frequently opening the oven door can cause heat to escape, potentially extending the overall cooking time, so try to be efficient.
The Critical Importance of Resting Your Turkey
Resting is a crucial, non-negotiable part of the roasting process. During this time, the turkey meat continues to cook, with its internal temperature typically rising by another 5-10℃. More importantly, resting allows the muscle fibers to relax and reabsorb the juices, resulting in significantly more flavourful and **juicier meat**. It also provides you with valuable time and space to finalize other elements of your Christmas dinner.
For a 4-5kg turkey, allow approximately 1.5 hours of resting time. For larger birds, between 6-10kg, aim for up to 2 hours.
Effortless Carving: Ready for Presentation
Decide on your carving strategy well in advance. While a ceremonial carving at the dinner table might be your ideal, it’s wise to plan how you’ll approach it before the rush of dinner service. Have your carving dish and a sharp knife ready, ensuring you’re **organised and prepared** for a smooth and impressive presentation.
For a completely seamless Christmas Day, explore my No Stress Christmas Dinner Plan here to expertly organize the rest of your festive meal!
Essential Ingredients for a Spectacular Christmas Turkey
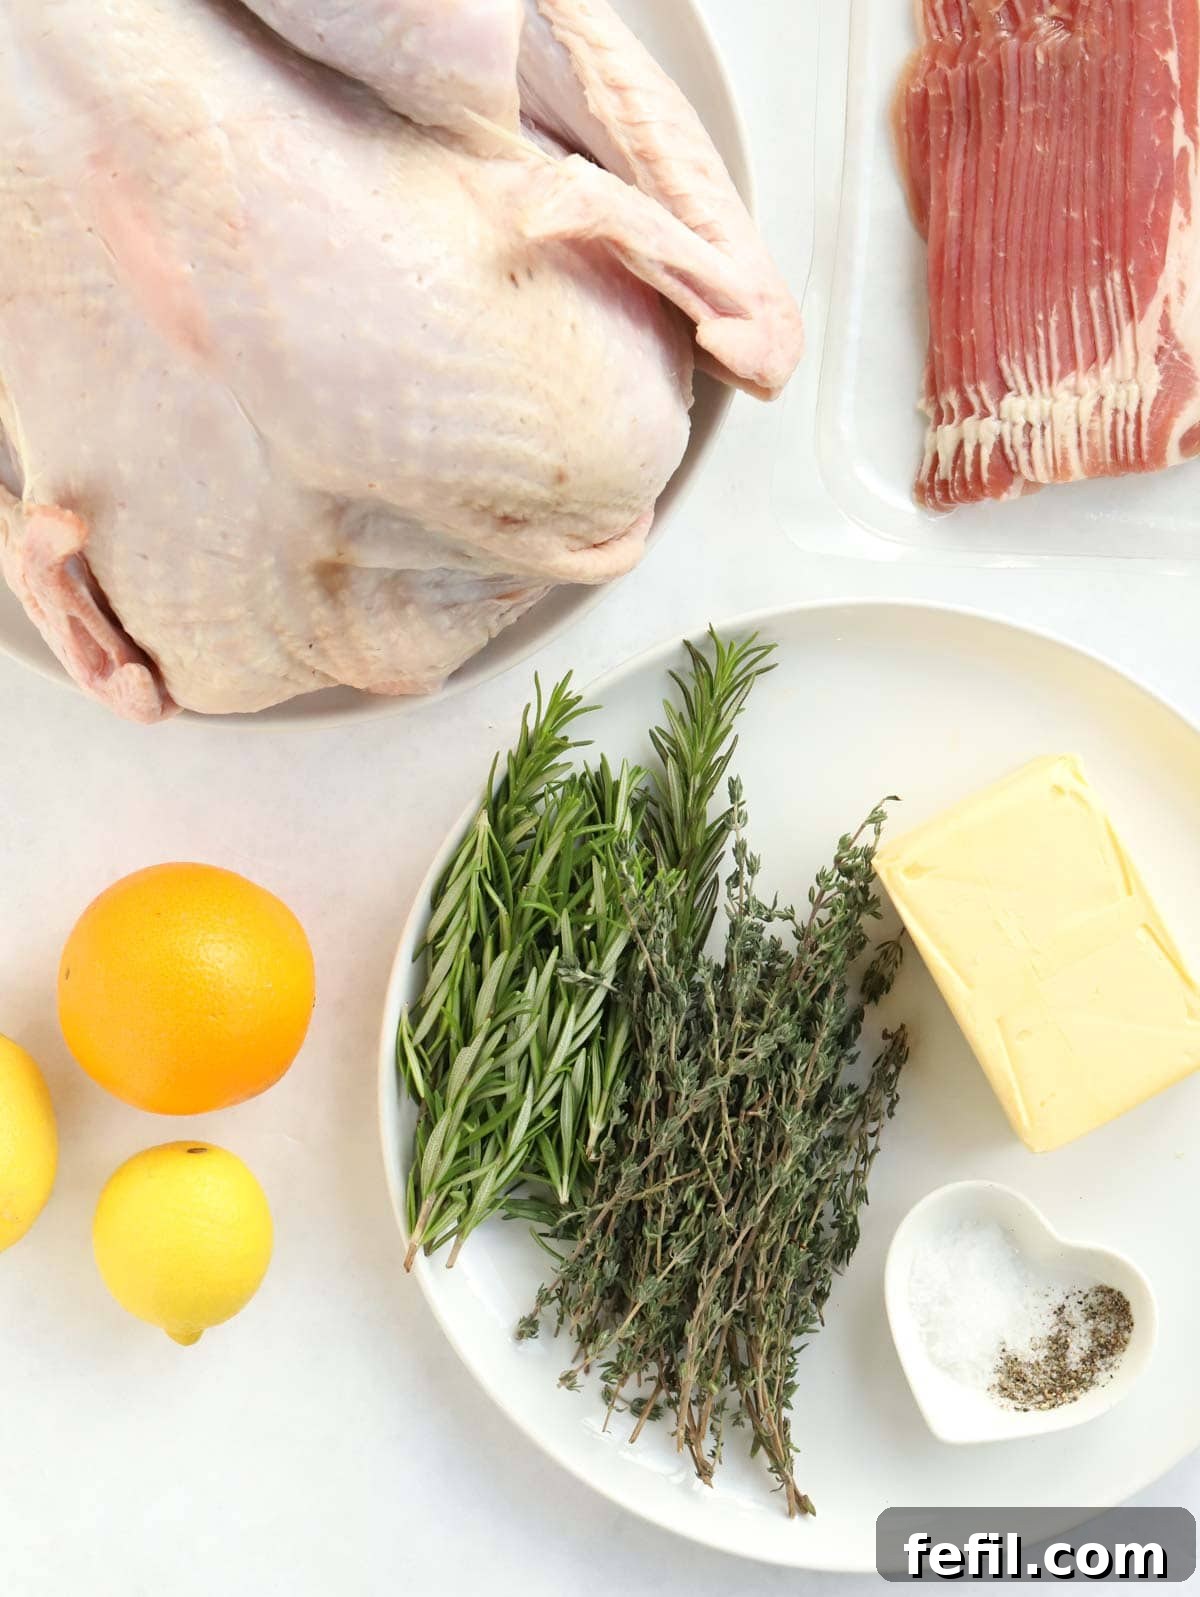
- Turkey: Your choice of a whole bird or a turkey crown, depending on your needs.
- Smoked Streaky Bacon: Adds essential moisture and a delicious savory flavour to the turkey breast.
- Salted Butter: Ensure it’s at room temperature for easy blending and spreading.
- Fresh Thyme & Rosemary: The leaves should be removed from their stalks and finely chopped to release their full aroma and flavour.
- Lemons and an Orange: For their vibrant zest, which adds a bright, fresh note to the herb butter.
- Sea Salt and Black Pepper: Don’t be shy with the seasoning; it’s crucial for enhancing the turkey’s natural flavour.
How to Prepare and Roast Your Christmas Turkey: A Step-by-Step Guide
1. Prepare the Herb Butter: Remove your turkey from the fridge an hour before cooking to allow it to come to room temperature. In a bowl, combine the softened salted butter with finely chopped fresh thyme, rosemary, lemon zest, orange zest, and a generous amount of sea salt and black pepper. Mash these ingredients together thoroughly until well combined, creating your aromatic herb butter.
2. Prepare the Turkey: Carefully remove any giblets from the turkey cavity (if present). Place the turkey in a sturdy roasting tin lined with foil or a large foil tray on a baking sheet for support. Pat the entire surface of the turkey thoroughly dry with kitchen paper – this helps achieve crispy skin. Gently separate the skin from the breast meat on both sides using a small, sharp knife or your fingers, creating pockets for the butter.
3. Apply the Herb Butter: Take about half of your prepared herb butter and carefully push it under the separated skin over the turkey breasts. Use your hands on the outside of the skin to gently massage and spread the butter evenly across the breast meat. Spread the remaining butter generously over the top of the turkey skin, ensuring complete coverage.
4. Add Bacon and Roast: Carefully lay the streaky bacon rashers over the turkey breast, often criss-crossing them to help them stay in place as they cook. This layer of bacon will protect the breast meat and add flavour. Loosely cover the entire turkey with tin foil. Preheat your oven to 180℃ fan/200℃/Gas Mark 6. Place the turkey in the preheated oven and cook according to the timings specified on your turkey packaging or use the guidelines provided in our “Cooking Time” section below, based on the turkey’s weight.
Turkey Bird vs. Turkey Crown: Choosing What’s Best for Your Feast
Deciding between a whole turkey and a turkey crown depends entirely on your specific needs and preferences for Christmas dinner. Consider factors like the size of your oven, the number of guests you’re hosting, and your overall budget.
The Whole Turkey: Traditional & Abundant
A **whole turkey** is the quintessential classic centerpiece for a traditional Christmas feast. It offers a impressive presentation and a delightful variety of meat, including both white breast meat and richer, flavourful dark meat from the legs and wings. Whole birds are excellent for feeding a large number of people, making them a more economical choice per serving, although the initial purchase cost might be higher. However, they generally require more preparation, oven space, and can be a bit more challenging to carve.
The Turkey Crown: Convenient & Leaner
A **turkey crown** consists of the turkey breast on the bone, with the legs and wings removed. This option is typically less hassle to prepare and significantly easier to carve. It’s an ideal choice if you’re catering for a smaller gathering or if your guests predominantly prefer white meat. Turkey crowns also cook much faster than whole birds, making them a great option if oven space is limited or if you’re looking to minimize cooking time. While they offer less waste and are generally cheaper to buy, they yield fewer leftovers and some argue they might not be quite as succulent without the natural basting from the attached legs and wings.
If you opt for a turkey crown, you can follow my Easy Turkey Crown recipe here for specific instructions.
In-Depth Tips for Christmas Turkey Success
Selecting the Perfect Turkey Size
Ensuring you buy the correct size turkey is crucial for satisfying all your guests and managing leftovers. Here’s a general guide:
- A smaller turkey, around **2kg**, will typically feed **4-6 people**.
- Medium-sized turkeys, between **3-4kg**, are suitable for **6-8 people**.
For larger gatherings, consider these guidelines (courtesy of Copas Turkeys):
- **4kg** serves **8-10 people**
- **5kg** serves **10-12 people**
- **6kg** serves **12-14 people**
- **7kg** serves **14-16 people**
- **8kg** serves **16-18 people**
- **9kg** serves **18-20 people**
Accurate Cooking Times
Always weigh your turkey first to determine the precise cooking time. Preheat your oven to 180℃ (fan) / 200℃ / Gas Mark 6.
According to the official Food Standards Agency guidelines, use these timings:
- For turkeys under **4.5kg**: Allow **45 minutes per kg, plus an additional 20 minutes**.
- For turkeys between **4.5-6.5kg**: Allow **40 minutes per kg**.
- For turkeys over **6.5kg**: Allow **35 minutes per kg**.
Remember these are guidelines; always check the internal temperature for true doneness.
Achieving the Perfect Internal Temperature
A reliable meat thermometer is your best friend here. Insert it into the thickest part of the meat (typically the thigh, avoiding bone). Your turkey is safely cooked when it reaches one of the following temperatures:
- **65°C** held for **10 minutes**
- **70°C** held for **2 minutes**
- **75°C** held for **30 seconds**
These varying times and temperatures ensure bacterial safety. Choose the one that best suits your preference for tenderness.
Preparing in Advance for a Stress-Free Day
You can complete the preparation up to the end of step 3 (applying butter and bacon) up to 24 hours before you plan to cook your turkey. Once prepped, cover it well and chill overnight in the fridge. On Christmas morning, simply remove it from the fridge to come to room temperature for an hour, then cook as normal. Be aware that a fridge-cold turkey might require slightly longer to cook compared to one that started at room temperature.
Thawing a Frozen Turkey: Plan Ahead!
This step requires significant foresight! Turkeys are substantial birds and can take a considerable amount of time to thaw—large ones may need up to **5 days** in the fridge. Always check the specific thawing instructions on your turkey’s packaging. Most frozen turkeys require complete defrosting before cooking.
The Food Standards Agency advises always thawing your turkey in the fridge, never at room temperature, to prevent bacterial growth. Place the turkey in a large container or on a tray to catch any drips, preventing cross-contamination and keeping your fridge clean.
If no specific instructions are provided, allow approximately **10-12 hours per kg** for a complete thaw in the refrigerator.
Bringing Your Turkey to Room Temperature
About one hour before you intend to put the turkey into the oven, remove it from the fridge. Allowing it to come to room temperature helps prevent the meat from shocking and contracting too much in the hot oven, which can lead to toughness. This simple step promotes more even cooking.
Don’t Forget the Giblets!
Giblets are the edible internal organs (neck, heart, liver, gizzards) often found in a bag inside the turkey cavity. Remember to remove them before cooking! While not necessary for roasting the turkey itself, they are fantastic for adding depth of flavour to your homemade gravy, especially if you’re going for that extra special touch.
How to Rest Your Turkey for Maximum Juiciness
Once your turkey has reached the correct internal temperature, follow these steps for perfect resting:
- Carefully remove the turkey from the oven, leaving it in its roasting tray (expect a good amount of flavorful juices).
- Place the tray in a warm, draft-free spot in your kitchen.
- Keep the tin foil covering loosely in place.
- For extra insulation, drape a clean bath towel or a couple of clean tea towels over the foil. This helps seal in the heat, allowing the turkey to continue cooking gently and the juices to redistribute.
- Allow it to rest for the recommended time (approx. 1-2 hours depending on size).
- When ready to serve, carefully pour the accumulated resting juices from the tray into your gravy for an incredible flavour boost.
- Transfer the rested turkey to a carving platter and prepare to carve.
Expert Carving Techniques
You have a couple of options for carving your magnificent roast turkey:
- **Traditional Carving:** First, remove the legs and wings by cutting through the joints. Then, carve the breast meat along the grain, slicing downwards.
- **Whole Breast Removal:** For a streamlined approach, you can carefully cut the entire breast off the carcass in one large piece, then transfer it to a cutting board and slice it against the grain.
To carve the breast: Start on one side of the breast and cut downwards diagonally until you reach the center bone. For the legs and wings: Carve the meat until you reach the joint, then locate the joint and pull it away to separate the section.
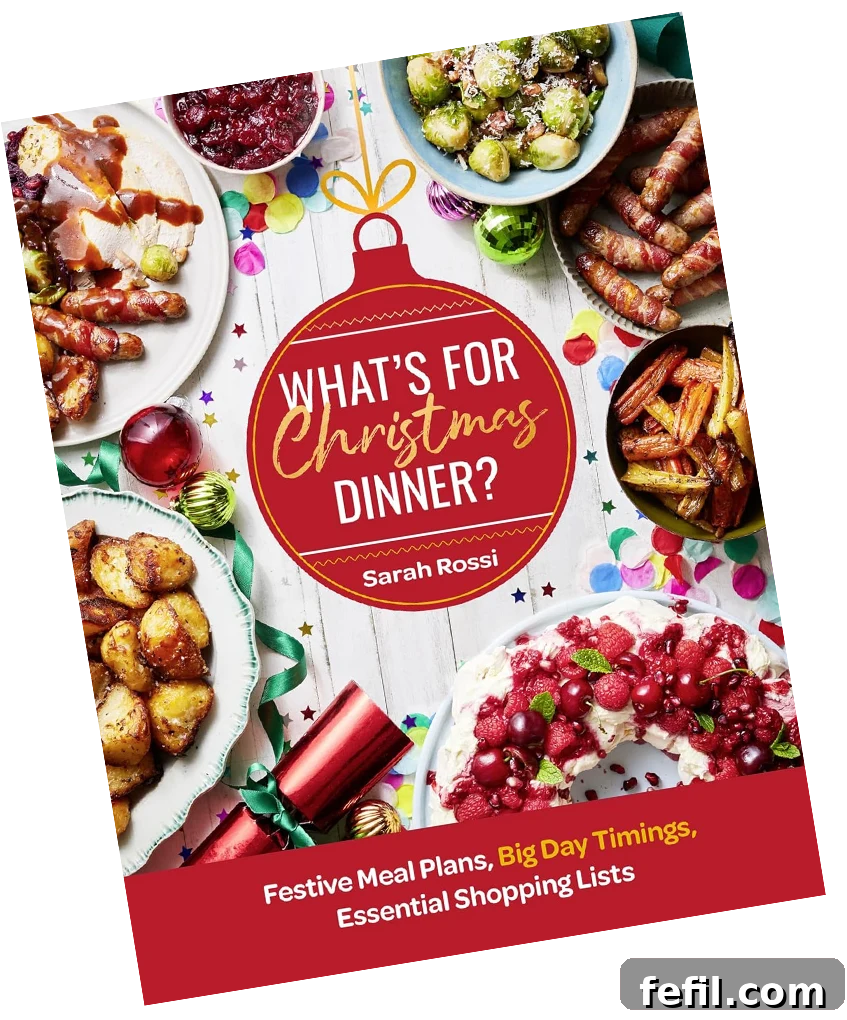
Elevate Your Holiday Cooking with My Christmas Cookbook!
This fantastic roast turkey recipe is just one of many culinary gems found in my exclusive ‘What’s For Christmas Dinner?’ cookbook. Discover a wealth of festive recipes to make your holiday meal truly unforgettable.
Frequently Asked Questions About Roasting Turkey
Ensure your turkey is piping hot and cooked all the way through. The most reliable method is to use a meat thermometer inserted into the thickest part of the thigh, away from the bone. Refer to our “Achieving the Perfect Internal Temperature” section above for ideal temperature readings. If you don’t have a thermometer, cut into the thickest part of the meat; it should not be pink, and any juices that run out should be clear, not cloudy.
Basting is the process of periodically spooning the pan juices and rendered fat over the surface of the turkey as it cooks. This helps to keep the skin moist, promotes an even golden-brown colour, and adds flavour. It’s an easy way to prevent the turkey’s exterior from drying out too quickly.
Leftover turkey is incredibly versatile! There are countless delicious ways to enjoy it, but for a simple and satisfying meal during the busy holiday season, my go-to is always my Turkey Curry leftovers recipe. It’s quick, easy, and incredibly flavourful. Remember to always follow Food Standards Agency guidance: refrigerate or freeze any leftover food within 1 to 2 hours of cooking.
Stuffing the turkey cavity was once a common practice, but it’s less popular now for a few key reasons. Primarily, it can significantly hinder the turkey from cooking evenly and thoroughly, especially in the deepest parts of the bird and the stuffing itself, raising food safety concerns. Moreover, stuffing can be made just as delicious, if not more so, when cooked separately in a baking dish, ensuring it cooks perfectly while allowing the turkey to roast optimally.
I recommend cooking the turkey loosely covered with tin foil for most of the cooking time. This helps prevent the bird from browning too quickly and drying out. If, about an hour before the estimated end of the cooking time, you find that the turkey’s skin or the bacon isn’t as crispy or golden as you’d like, remove the foil. This will allow the outside to crisp up beautifully. After cooking, cover the turkey again with foil and then with towels during the resting period. This crucial step keeps the meat warm, allows it to continue cooking gently, and most importantly, helps the juices redistribute, resulting in a more tender and flavourful turkey.
While variations exist from household to household, sticking to these classic side dishes will guarantee a truly traditional British Christmas dinner:
- Crispy Roast Potatoes
- Honey Roasted Carrots & Parsnips
- Brussels Sprouts with Bacon
- Braised Red Cabbage
- Homemade Stuffing
- Creamy Cauliflower Cheese
- Pigs in Blankets (mini sausages wrapped in crispy bacon!)
- Rich Gravy
- Tangy Cranberry Sauce
The tradition of eating turkey for Christmas dinner largely gained popularity in Britain thanks to Queen Victoria. Ever the trendsetter, her choice to serve turkey (alongside goose and beef) at Christmas in 1851 helped solidify its status as the meat of choice for our festive celebrations from that point onwards.
I would love to hear how your roast turkey turned out and what you thought of this recipe! Please take a moment to rate the recipe using the ⭐️ below.
Also, I’d **LOVE** to see your magnificent cooking creations. If you’d like to share yours with me, please tag me on Instagram (@tamingtwins). Happy cooking!
Print Recipe
5 from 13 votes
No Fuss Roast Turkey {with Easy Herb Butter}
Sarah Rossi
This is a simple guide to making a delicious Christmas turkey, without any fanfare or fuss. Get your weight and timings right, throw in a bit of butter lathering and bacon covering, and you’re good to go.
8
people
Ingredients
- 4 kg Whole turkey or turkey crown
- 250 g Smoked streaky bacon
For the Herb Butter:
- 250 g Salted butter, At room temperature
- 20 g Fresh thyme, Leaves removed from stalks and finely chopped
- 20 g Fresh rosemary, Leaves removed from stalks and finely chopped
- 2 Lemons, Zested
- 1 Orange, Zested
- Plenty of sea salt and black pepper
Instructions
- Remove the turkey from the fridge and set aside to come to room temperature for about an hour. Put the herb butter ingredients (softened salted butter, finely chopped fresh thyme and rosemary, lemon and orange zest, sea salt, and black pepper) into a bowl and mash together well until thoroughly combined.
- Remove any giblets (if your turkey has them) and place the turkey into a well-lined roasting tin or a foil tray on a baking tray for support. Pat the turkey thoroughly dry with kitchen roll. Use a small sharp knife to gently part the skin from the breasts at the highest point, then use a clean hand to further separate the skin from the meat, creating a pocket. Repeat on the other side of the bird.
- Push about half of the prepared herb butter under the skin of the turkey, spreading it evenly over the breast meat by gently massaging from the outside. Spread the rest of the butter generously over the top of the turkey skin. Lay the bacon rashers carefully over the turkey breast (criss-crossing helps them stay in place). Cover the turkey loosely with tin foil.
- When you’re ready to cook, preheat your oven to 180℃ fan/200℃/Gas Mark 6. Place the turkey in the preheated oven and cook according to the timings above (or on the turkey packaging), basing the cooking time on its weight.
- Baste the turkey every hour or so by spooning the pan juices over its surface. If, about an hour before the estimated end of the cooking time, the outside of the turkey or the bacon is not browning and crisping up, remove the foil to allow for a golden, crispy finish.
- When the turkey is cooked through (check internal temperature with a thermometer), remove it from the oven but leave it in its roasting tray (lots of juices will accumulate). Set it aside in a warm, draft-free spot in the kitchen and keep it covered loosely with foil. For extra insulation, drape a clean bath towel or a couple of clean tea towels on top of the foil to seal in the heat. Let it rest for about 1 hour.
- When you’re ready to serve, carefully pour the resting juices from the tray into your gravy (if desired) for added flavour. Transfer the rested turkey to a platter and carve as preferred.
Did you make this recipe? Click here to let us know how it went and give it a ⭐️ rating! Your feedback helps us to create more recipes you’ll love.
Notes
Basting: Basting the meat with the cooking liquid helps to stop it drying out and achieve a golden crust. Be aware that frequently opening the oven can cause heat to escape, potentially extending the cooking time.
Cooked Bacon: We use bacon to add flavour and keep the turkey breasts moist. By the time the bird has cooked, the bacon can become quite crispy and hard. You can discard it if you prefer, but we always enjoy crumbling it over the carved meat for extra texture and flavour!
Tin Foil: Covering the turkey loosely with tin foil during cooking helps ensure the bird doesn’t cook too quickly and keeps it moist. If, an hour before the end of the cooking time, you feel the outside of the turkey and/or the bacon isn’t crispy enough, remove the foil to achieve a golden, crispy finish.
What Size to Buy: The smallest turkey you can buy, around 2kg, will feed about 4-6 diners. Sizes between 3-4kg will typically feed about 6-8 people.
According to Copas Turkeys, for larger birds, the general serving guidelines are as follows:
- 4kg serves 8-10 people
- 5kg serves 10-12 people
- 6kg serves 12-14 people
- 7kg serves 14-16 people
- 8kg serves 16-18 people
- 9kg serves 18-20 people
Cooking Time: Always weigh your turkey first to ensure correct timings. Preheat your oven to 180℃ (fan) / 200℃ / Gas Mark 6. According to the Food Standards Agency, use these guidelines:
- Allow 45 minutes per kg plus 20 minutes for turkey under 4.5kg.
- Allow 40 minutes per kg for turkeys between 4.5-6.5kg.
- Allow 35 minutes per kg for turkeys over 6.5kg.
Temperature: Use a meat thermometer to accurately gauge if your turkey is cooked. Always check the thickest part of the meat (usually the thigh), avoiding bone. It’s ready when the temperature is recorded at:
- 65°C for 10 minutes
- 70°C for 2 minutes
- 75°C for 30 seconds
Preparing in Advance: You can prepare the turkey up to step 3 in the recipe (applying the butter and bacon) up to 24 hours before you plan to cook it. Cover and chill overnight, then cook as normal the next morning. Remember that a fridge-cold turkey might take slightly longer to cook than one started at room temperature.
Thawing a Frozen Turkey: Plan this well in advance! Turkeys are large birds and require significant thawing time – large ones can take up to 5 days. Always check the packet instructions beforehand, as most frozen turkeys need to be fully defrosted.
The Food Standards Agency recommends defrosting your turkey in the fridge rather than at room temperature. Place it in a container to catch any liquid and prevent cross-contamination. If thawing instructions aren’t provided, allow approximately 10-12 hours per kg for a complete thaw.
Room Temperature: Remove the turkey from the fridge and let it sit at room temperature for about an hour before cooking. This helps prevent the meat from seizing up and shrinking in the hot oven, ensuring more even cooking.
Take Out Giblets: These are the turkey’s edible innards, usually found in a bag inside the cavity. Remember to remove them. While not essential for the roast turkey itself, they can add fantastic flavour to your gravy if you choose to use them.
How to Rest Your Turkey: Once cooked through, follow these steps:
- Remove from the oven but leave in its roasting tray (plenty of juices will collect).
- Place it on a side counter in a warm part of the kitchen.
- Keep it loosely covered with tin foil.
- Place a clean bath towel or a couple of clean tea towels over the foil to seal in and maintain the heat.
- Allow it to rest for the recommended time (approx. 1-2 hours).
- When ready to serve, pour the delicious resting juices into your gravy (if desired).
- Transfer to a platter and carve.
Carving: You can either carve the traditional way, removing legs and wings first and then slicing the breast along the grain. Alternatively, you can remove the entire breasts from the carcass in one piece and then slice them on a board.
To carve the breast: Start on one side and cut downwards diagonally until you reach the center. For legs and wings: Carve the meat until you reach the joint, then gently insert your thumb into the gap and pull the joint away.
Nutrition
Calories: 790kcal
Carbohydrates: 0.9g
Protein: 80.7g
Fat: 51.2g
Saturated Fat: 24.4g
Sodium: 2180mg
Fiber: 0.7g
Sugar: 0.3g
Nutrition information is automatically calculated and should only be used as an approximation. Nutritional values are per portion unless otherwise stated.
Additional Info
Like this? Leave a comment and rating below!
Mention @myusername or tag #myhashtag!
This recipe was first published here on December 4th, 2022. It was updated again on November 6th, 2025, to include additional step-by-step videos and enhanced details for a perfect roast.